Last Updated on February 23, 2022 by Chris and Lindsay
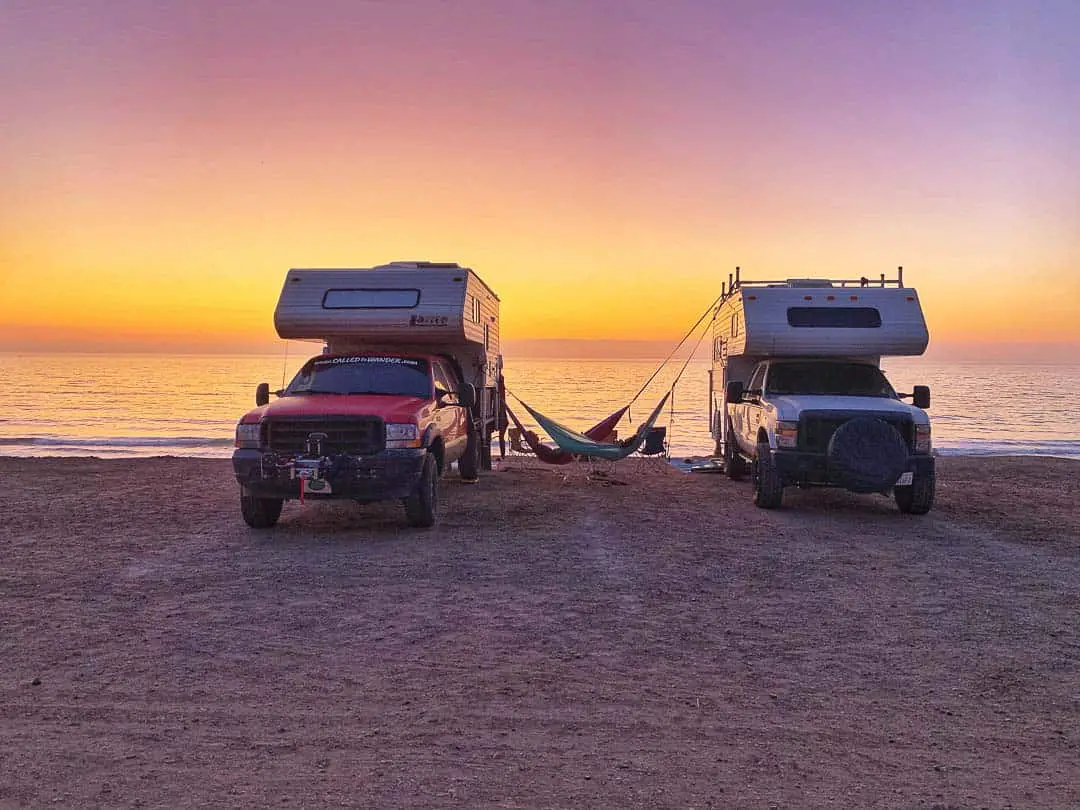
We owned one of the most unique flatbed truck campers and traveled to some of the most incredible places between Alaska and Baja, Mexico. Along the way, we learned a lot of great truck camper modifications that made our adventure safer and more enjoyable.
Truck campers are incredibly versatile in that you can modify pretty much every part of them. Whether you’re upgrading components of your truck, tweaking something in the truck camper or improving the space between the truck and camper, some simple truck camper mods can make a big impact on life in a truck camper – especially if you live in it full-time.
As each make and model of truck and slide-in camper are unique in the features they offer, not all modifications are needed or will work with your particular setup.
But in this post we’ll share some of the modifications we made and give you some pointers on how you can make these mods yourself.
Affiliate Disclaimer: This post may contain links to products we think you’ll like. If you purchase any of the products through the links below we’ll receive a small commission. As full-time RVers, we know our RV products well and only recommend those that we either own or would consider owning ourselves.
Truck Camper Modifications
Because a truck camper consists of a truck and camper, we look at the truck camper mods in four separate categories:
- Modifications to the truck
- Modifications to the outside of the camper
- Modifications to the inside of the camper
- Power modifications
Again, we customized our flatbed truck camper to meet our needs as full-time travelers attempting to drive between Alaska and Argentina. But your truck and/or camper may not require or be able to adapt to some of our recommendations.
Modifications to the Truck
In this section we want to point out that we did not modify anything related to the truck engine. We owned a 2002 Ford F-250 with the 7.3L diesel engine. That, in itself, is a great engine that needs little, if any, modification.
Because you’ll likely have a different truck, these mods are related to elements common to any truck that you may use to carry your slide-in camper.
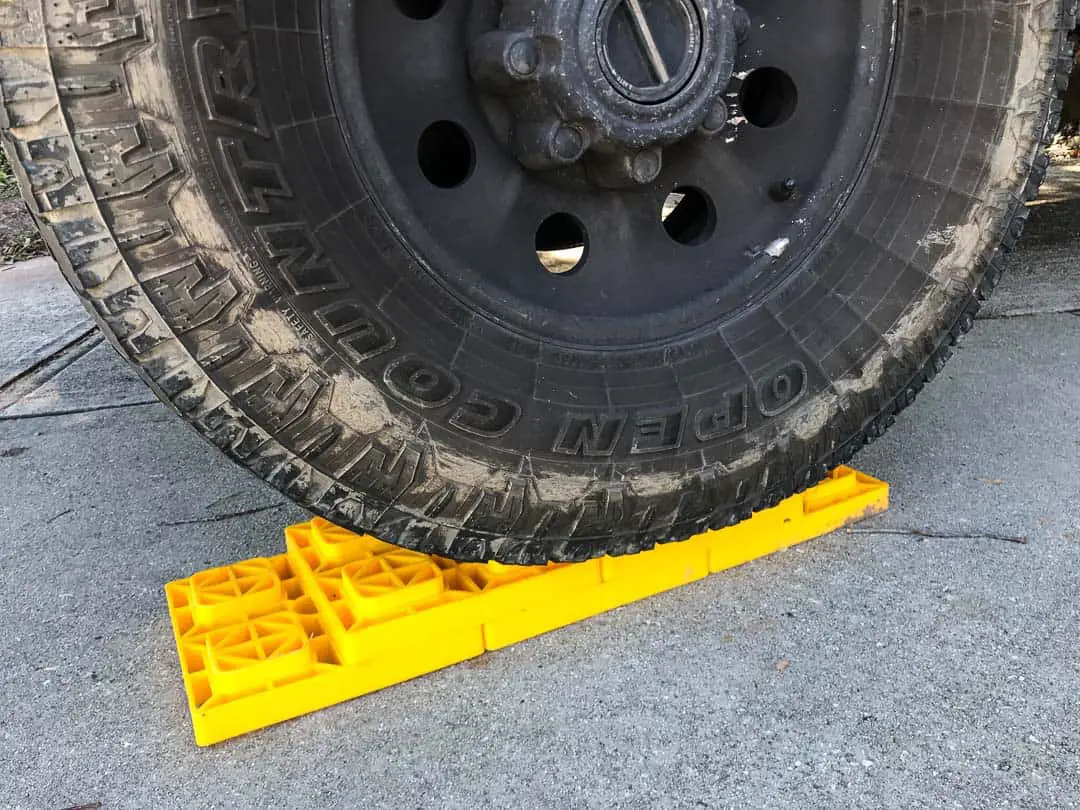
Tire upgrade.
A good friend of ours shared with us the importance of recognizing that our entire life literally rides on the 4 tires of our truck. As such, spending a little money to invest in the largest, most durable all-terrain tires was a top priority.
Note, we did not add a lift kit, which would have enabled even larger tires. However, we purchased 5 of the highest-rated Toyo AT tires so we had a full-sized spare (which we needed on the Dalton Highway).
Even if you have a lightweight camper it will only help you to have more load capacity in your tires.
Beefed-up Rear Suspension
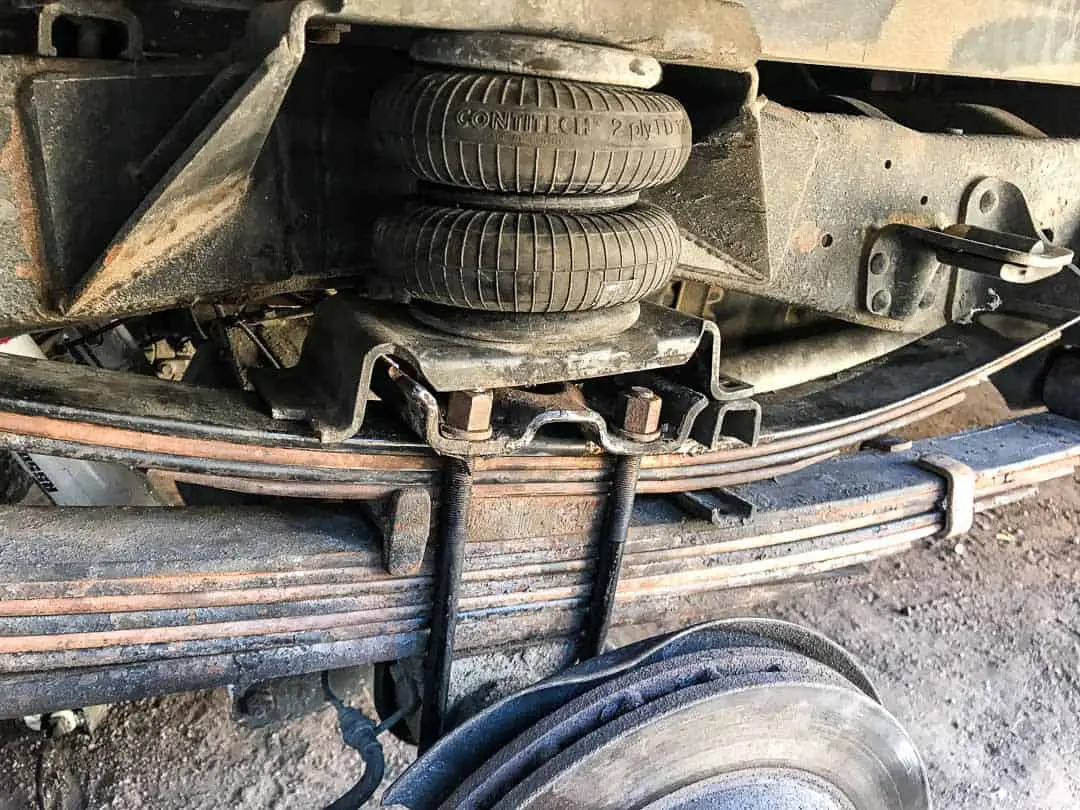
When you add the weight of a camper directly over your rear axle you automatically increase the stress on the rear suspension. We purchased our truck with a pre-existing airbag suspension modification.
However, within two months on the road, we learned that the brackets holding the airbags were not sufficiently strong enough to support the airbag suspension.
So we invested in a custom-welded bracket and in larger airbags to mitigate any future damage and worry over issues in the future.
Later, while driving off-road in Baja, we broke a few leaf springs and wore down our shocks. So while fixing the broken leaf springs we added two additional leaves and 3 extra overload leaves to the packet.
We also had a Baja 1000 race car builder customize a dual-shock set up to support 2 Rancho 5000 shocks on each side of our rear axle.
We would have been fine if we could have found the Rancho 9000 model in Baja. But since we could not, the expression “when in Mexico” applied.
Custom-welded storage between our truck and camper.
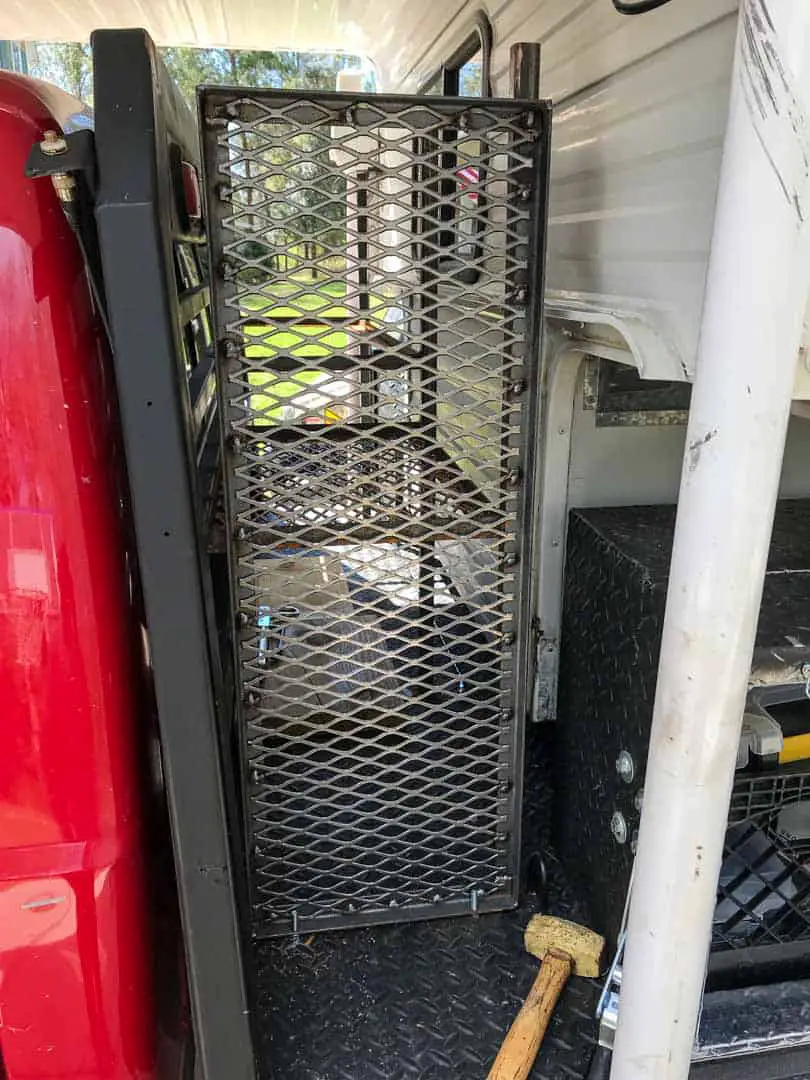
We put a shortbed camper on our longbed flatbed pickup truck with the specific goal in mind to create a space of around 16” between the truck and camper.
A friend of ours welded customized storage in this space to accommodate specific gear we wanted to carry with us in the space.
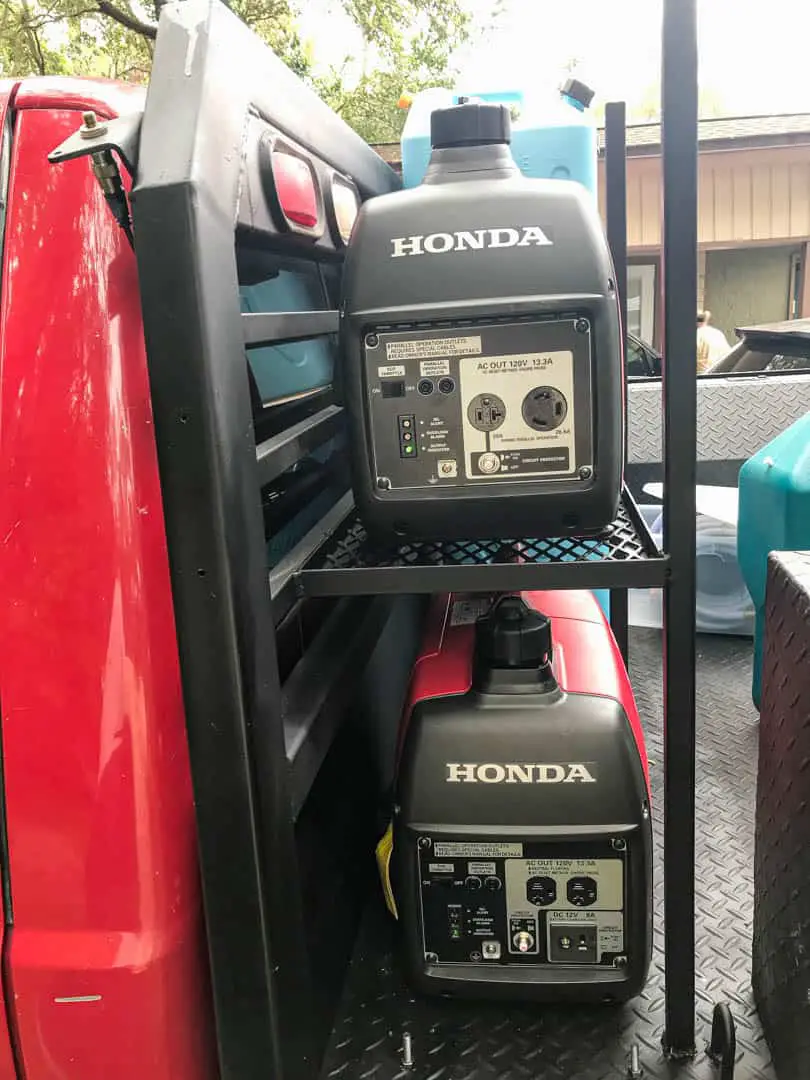
Our camper did not have an onboard generator and we wanted to ensure we had at least 3500 watts to power our air conditioner at times we expected to be overwhelmed by heat in Central America.
So we stored our 2 Honda 2000 generators in this space and wired them in parallel when needed to produce 4000 watts of power.
We also stored important items like our traction pads, farm jack and spare parts and fluids in this customized space.
Installed a Winch
The very last thing we did to the truck before we left on our journey was to install a 12,000 lb winch. We installed reinforced hitch mounts on both front and back so we could use the winch in either location.
But because the camper extended off the back of our truck we kept the winch on the front hitch. We called this our most expensive insurance policy as we never had to use the winch.
But we were certainly glad we had it in the event we needed it.
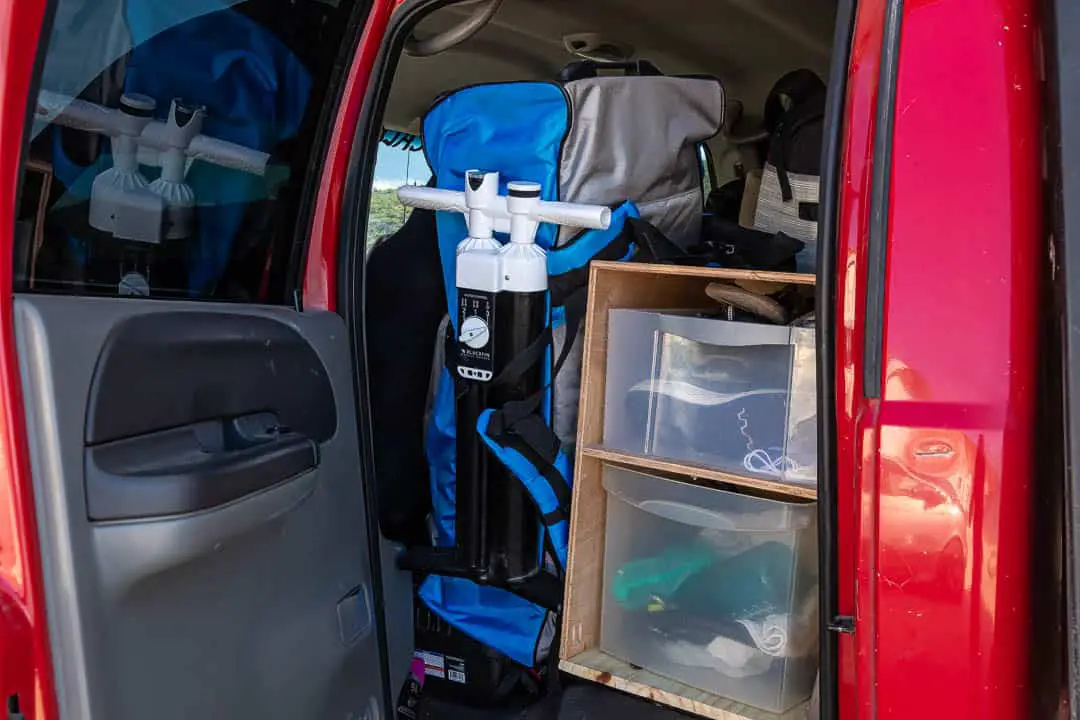
Removed backseat and built custom storage
For our first year on the road, we simply stacked our things in the backseat of the truck and made do with the space the seat allowed. But this quickly grew tedious because as full-timers with no need for a backseat we needed to make better use of the space.
So we removed the backseat and built a shelving system customized to our needs. We wanted to be able to have our dog ride in the back of the truck and also wanted to have quick access to things like shoes and camera equipment using slide-out storage containers.
This made a huge impact in our ability to organize and store the things we needed.
Note: We didn’t really customize anything else inside of the truck, other than putting in a new stereo to replace a defective one.
Outside Camper Mods
We made quite a few truck camper modifications to the outside of the camper as this was the primary reason we wanted our specific flatbed truck camper setup.
We were not certain what to expect in driving the Pan American Highway. But we knew that space would be important. And with truck campers, space is at a premium.
We owned a Lance 845 short bed truck camper that we tied down to our long bed flatbed F-250. This decision gave us tons of space to build storage both beneath the camper and between the truck and camper itself.
These are the truck camper mods we made in the outside space.
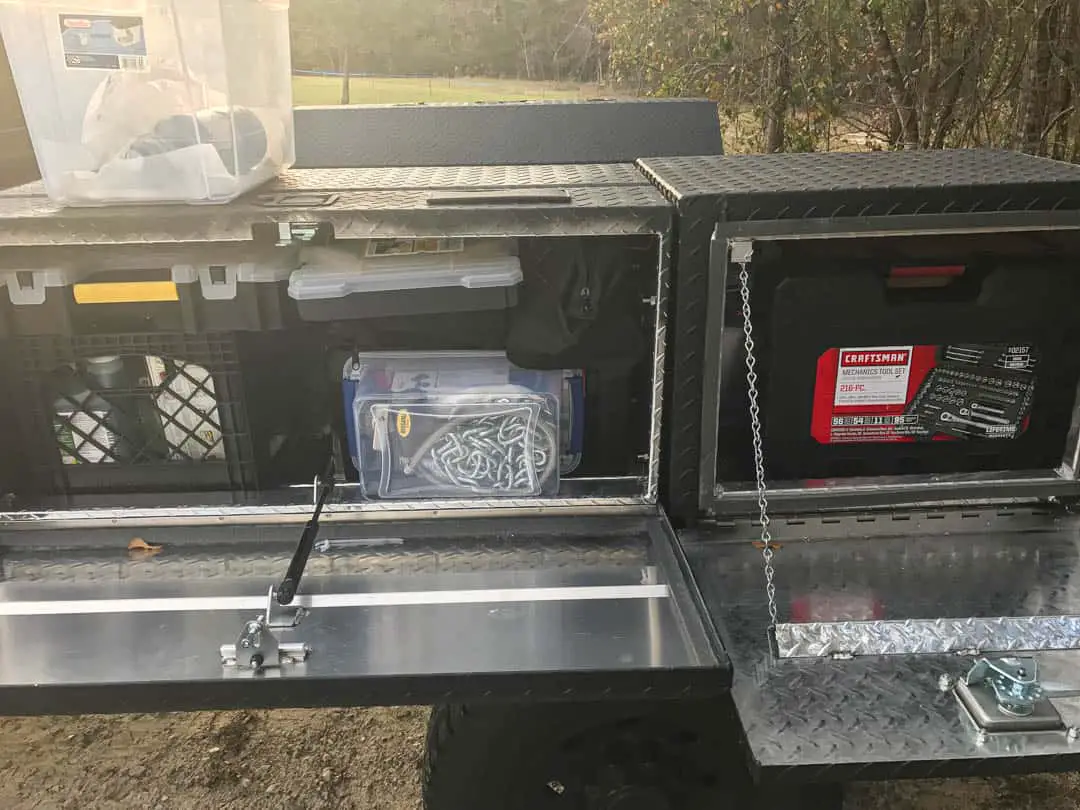
Converted aluminum boxes for storage
We had a space of around 18 inches on the flatbed beneath the camper that ran the length of the bed and was intended for custom storage.
But rather than try to weld storage boxes ourselves we found standard truck utility boxes that we rotated 90 degrees such that the doors opened sideways instead of upright. This move in itself did several things for us.
It gave us a low-cost way to install lots of storage ourselves without needing any technical welding skills or tools. And the aluminum was lightweight and easily secured to the bed.
Additionally, because the doors open sideways it created a natural table on which we could rest items as we sorted through the boxes.
This was something we still consider one of the most brilliant truck camper mods because it was so simple and cost-effective to do.
Built an outside kitchen
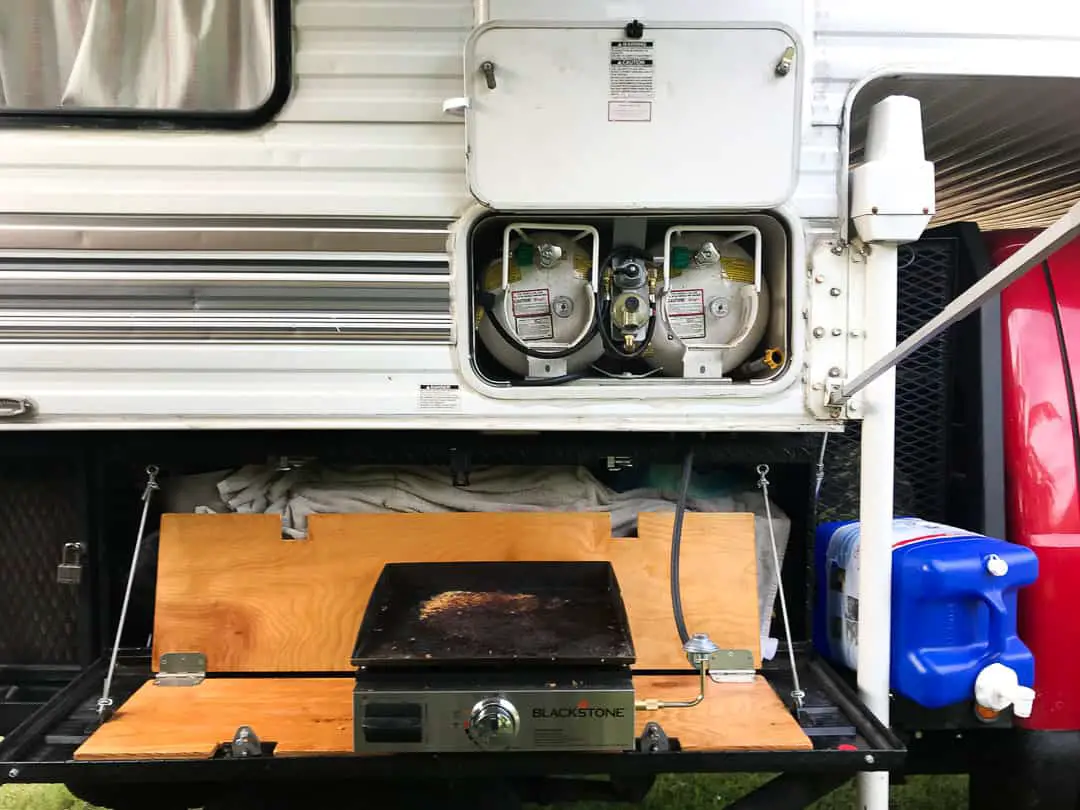
When traveling we cooked most of our meals because we were always budget-conscious. And as often as possible we cooked outside on our Blackstone grill.
But using the green gas canisters was expensive and tedious. And we didn’t like cooking on the ground or on flimsy fold-out tables that were the only ones that we could fit in our rig.
So we converted one of the storage box lids into a stable table on which we could cook. We built a customized wooden backsplash to keep the grill from splattering into the storage area.
And we also modified a spare propane hose to fit between our LPG tank and the grill. All of this was conveniently located on the side of the camper with our awning so regardless of rain we were able to cook delicious meals outside.
Invested in HappiJac Qwik Release turnbuckles
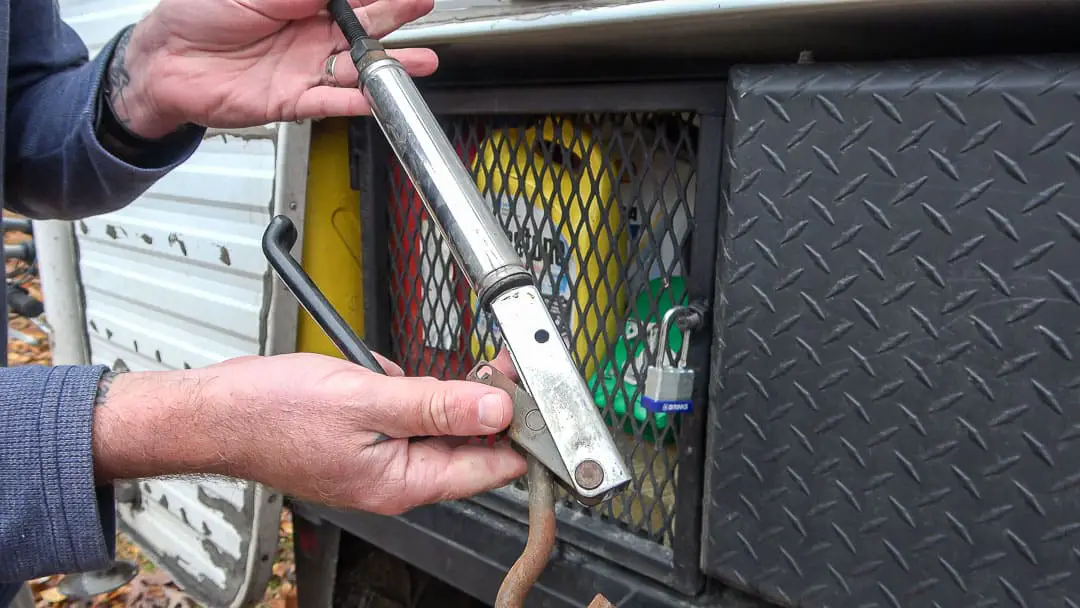
This decision was not so much a modification as it was a decision to invest in being able to quickly secure and release the camper to the truck.
The Happijac Qwik Release turnbuckles are more affordable than the equally-awesome Torklift Fast Gun brand. So you can go either way.
But definitely invest in the quick release turnbuckles. What we did modify to the camper was the location of the tie-down brackets and where we secured them to the truck.
Our friend welded durable connection points on the truck in such a way the truck was secured as it should be with the tie-down system.
Utilized 2 Honda 2000 generators
It is arguable whether you actually need a generator when camping. But since we planned to spend nearly a year in Central America, which is notorious for having rainy days on end, we decided having a backup source of power was imperative.
Thus we embarked on the decision to create the storage space for two Honda generators between the truck and camper.
In our first two years on the road, we rarely used the generators. But when we needed them we were glad we had them, particularly as we worked from the road and needed to have a reliable power source.
But we did have to modify the exhaust on the generators so that we could run them in place on the truck rather than setting them down on the ground beneath the camper.
One time we didn’t do this we found that the exhaust was getting into our camper, fortunately setting off our CO alarm. With the exhaust modifications, we also punched a hole in our flatbed to direct the exhaust down and away from our camper.
Installed 300 W solar power system
You don’t need solar when you RV. But if you are like us and want to spend most of your time off-grid dry camping and boondocking then having solar is imperative.
When we first started we had no idea about solar. We researched the difference between PWM and MPPT controllers, poly and monocrystalline panels and various battery types and inverter capacities.
But when it came down to it we just went with a basic package to get us started. This included two 100W panels, a PWM controller and the brackets and basic wiring and hardware.
We purchased a great 600W Xantrex inverter and were happy the first year on the road. But we soon learned we needed (and wanted) more power.
So we added an additional 100W panel, switched to a more efficient MPPT controller, increased our inverter capacity to 1000W and switched from deep-cycle flooded lead-acid batteries to more durable AGM ones.
We also added a battery monitor so we could monitor our power use and battery state of health.
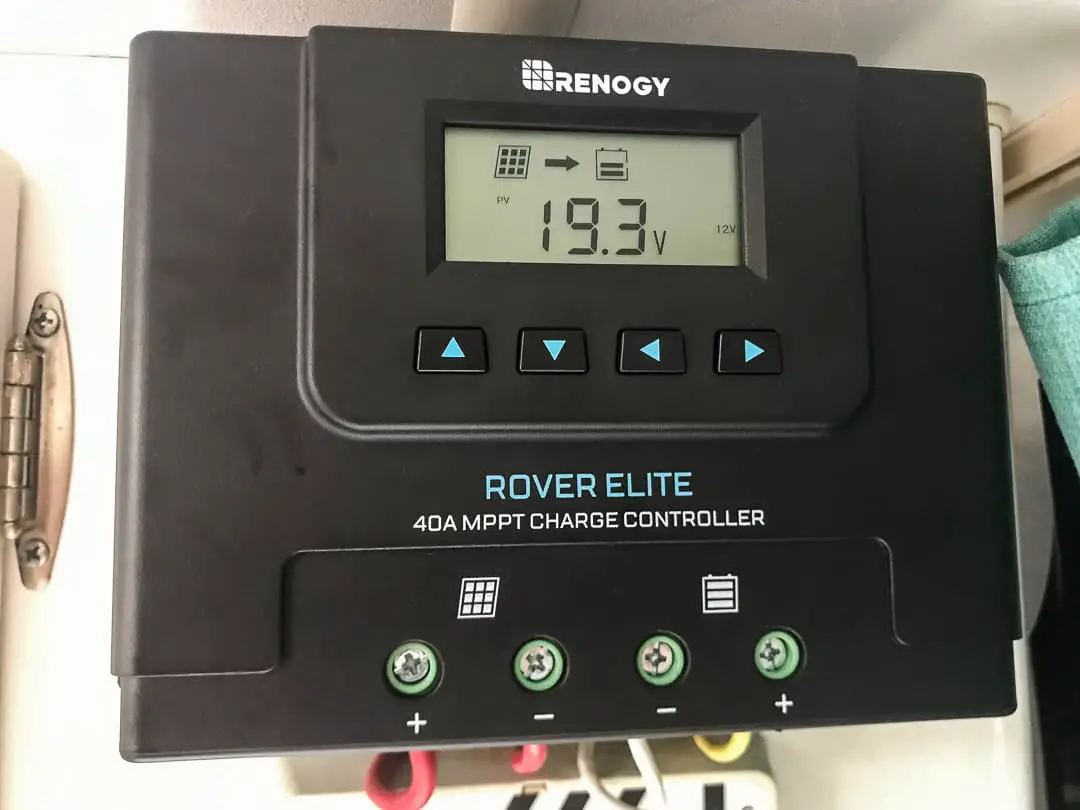
Use our code “CALLEDTOWANDER” and get a 10% DISCOUNT on purchases made directly through Renogy.
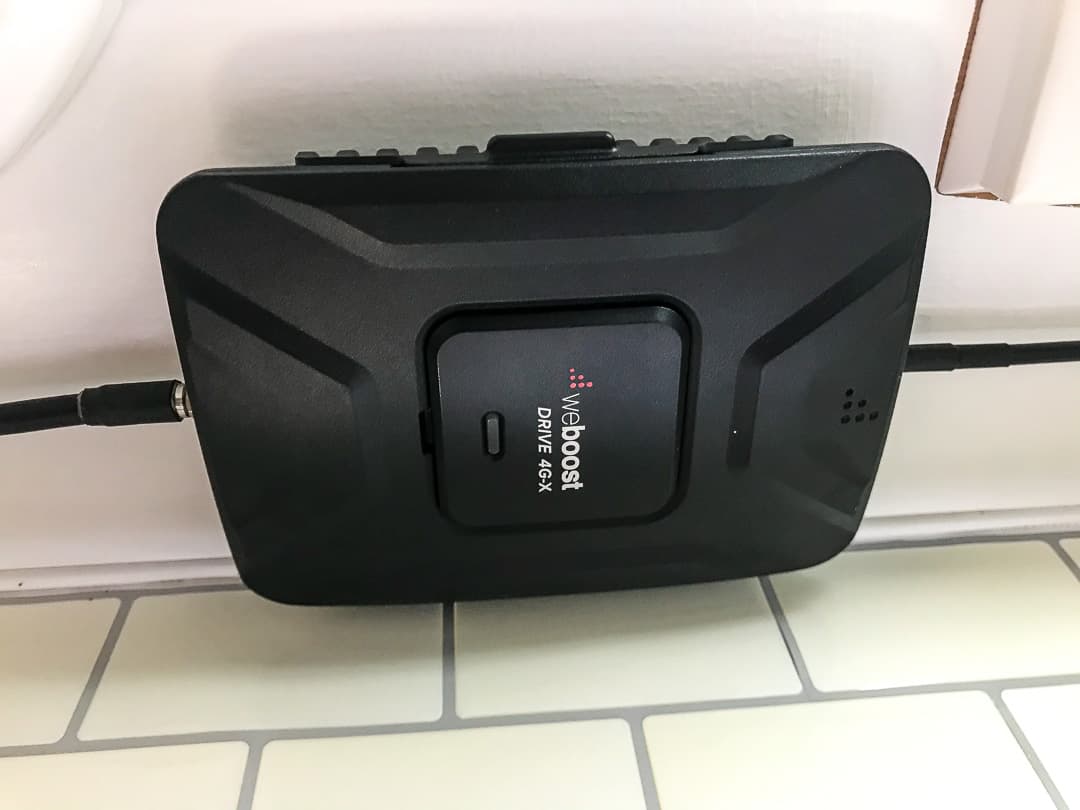
Added a cell phone booster
Adding this cell phone booster was a small but notable modification to our camper. The installation was relatively simple – one hole in the side of our camper and a few wires run behind the walls to our battery.
And the functionality of the cell phone booster has literally saved us at times when we were stranded and needed service and at other points when we needed to be able to work from the road.
Cell phone boosters are not small investments. But we can say it was worth the money in the few times we were really in need of an extra bar or two of service.
Modifications Inside Our Camper
There is not a ton of space inside a truck camper so it is more likely you’ll spend time making cosmetic remodels and basic upgrades than major modifications and overhauls.
However, there are some simple and affordable modifications we made to our camper that made it feel more like home as well as more efficient in our use of space.
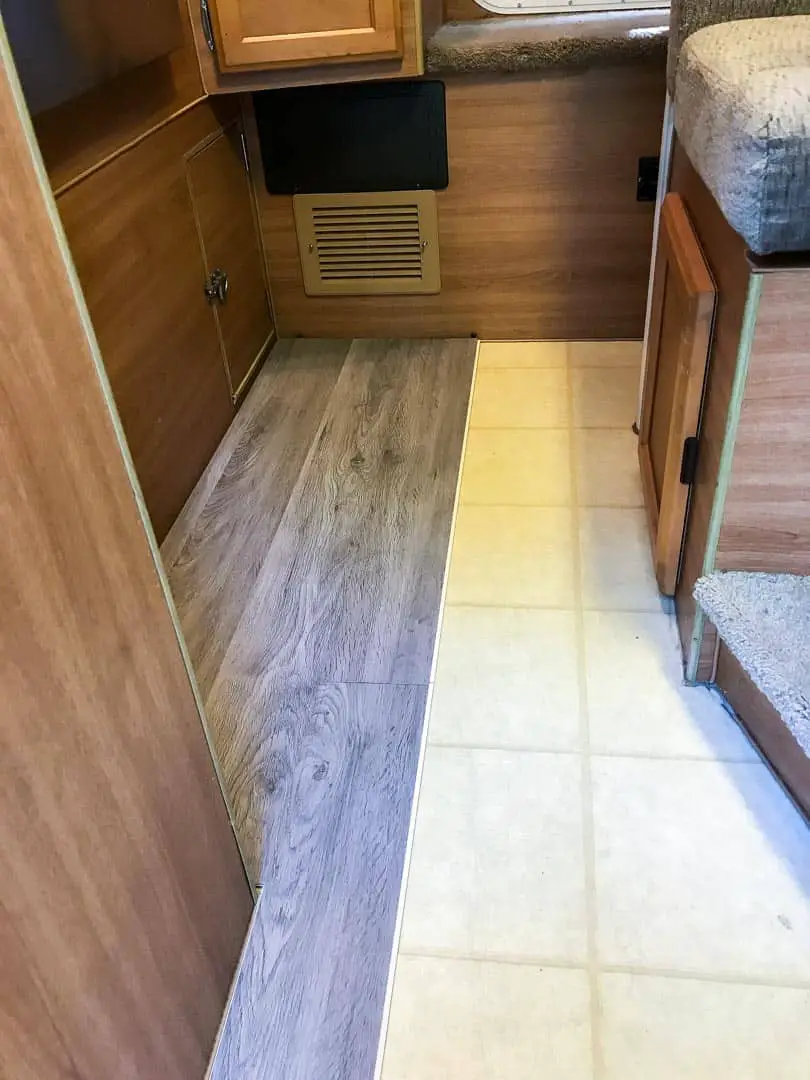
Installed waterproof vinyl plank flooring
While there is not much floor space in a truck camper, our camper had yellow-ish vinyl flooring everywhere it was possible. We didn’t like the look or function of this as it was not very durable for full-time truck camper living, particularly with our dog.
So the first thing we did was to install waterproof vinyl plank flooring and trim around the edges of the floor inside the camper.
This was not very difficult to do on our own, did not require expensive tools or extensive knowledge and cost less than $100.
For 3 years we spilled all sorts of liquids on the floor and trekked in and out of the camper multiple times and yet the flooring showed no signs of wear.
Built a bed frame support
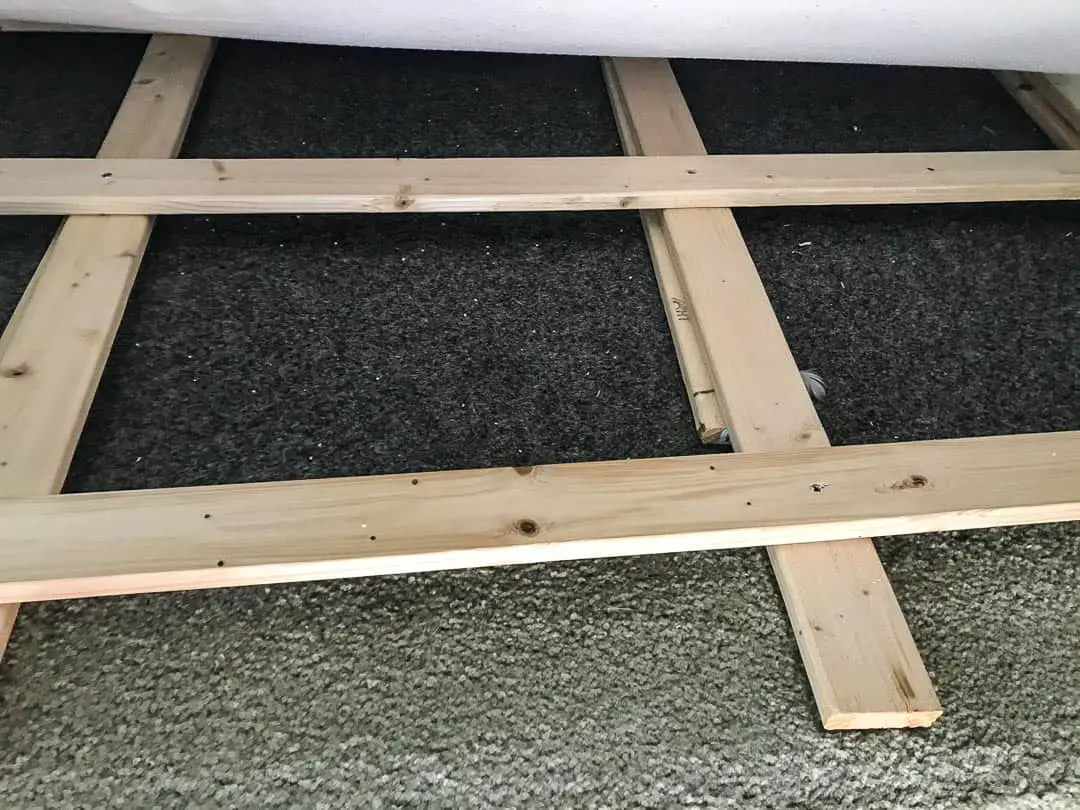
Cabover beds are notorious for their lack of breathability beneath the mattress. While you may have some form of lining beneath the mattress, moisture tends to find its way and mildew and mold can build up on the underside of the mattress.
While there are more expensive mattress lifts you can purchase and install, we decided to build a very simple bed frame using 1” wood and a handful of screws.
This frame lifted the bed approximately 1.5” and there was enough space for the mattress to breathe while not reducing our headspace in the cabover dramatically.
While we had mildew issues prior to the bed frame support. But once we installed it the issues went away immediately.
Removed the microwave
A simple, but perhaps necessary truck camper modification is simply removing the microwave from the kitchen cabinet.
Microwaves draw significant amounts of power and can only be used when you are connected to shore power. So unless you plan to hop from one campground to the next the microwave just takes up space.
We were using ours to store bread and tortillas. But we found that the microwave was really inefficient in this regard.
So we removed it and built a simple door to cover what became a spacious new storage space for items we used on a daily basis.
Replaced the bathroom door
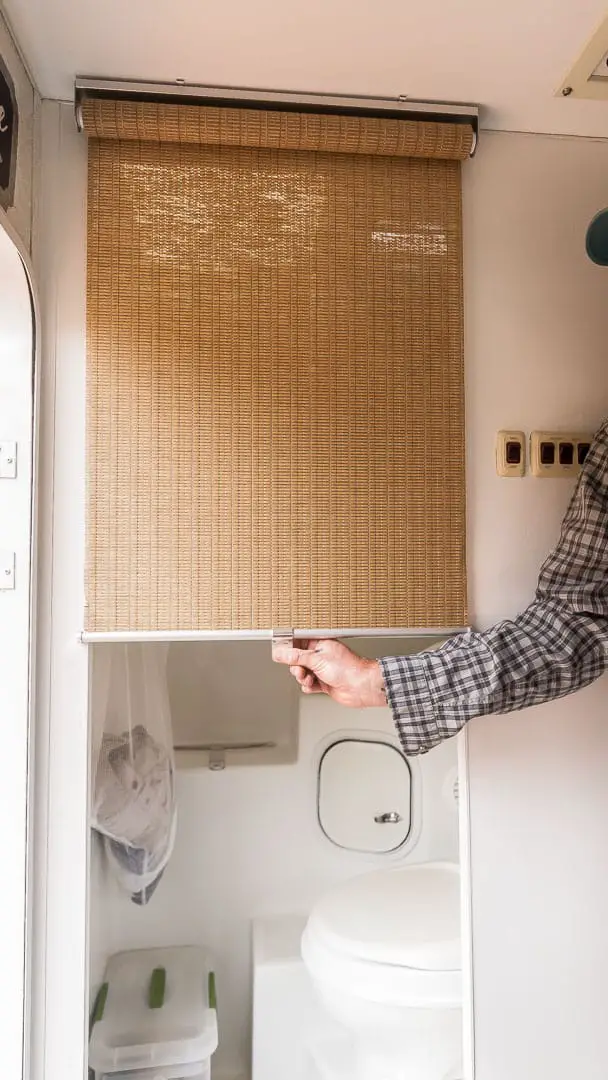
We found the bathroom door to be heavy, cumbersome to use and made us feel claustrophobic in the wet bath. The only real purpose it served was its full-length mirror gave us the ability to ensure we weren’t wearing our clothes inside out.
So we removed the bathroom door and replaced it with a simple bamboo roller shade that we could draw down as needed. Note, we did have a retractable shower curtain we could have simply drawn to cover the bathroom.
But this shade was stylish enough to match our decor and functional in providing enough privacy when we were in the bathroom. Removing the door was a simple truck camper mod that opened up our living space and made the bathroom a more functional part of our camper.
RV Power Modifications
The final modifications we made to our truck camper were related to our power storage and use.
As power is an important consideration in any camper, particularly if you work from the road, we are proud of the modifications we made to give us more than enough power for our truck camper needs.
Here are a few of the most important mods we made.
Use our code “CALLEDTOWANDER” and get a 10% DISCOUNT on purchases made directly through Renogy.
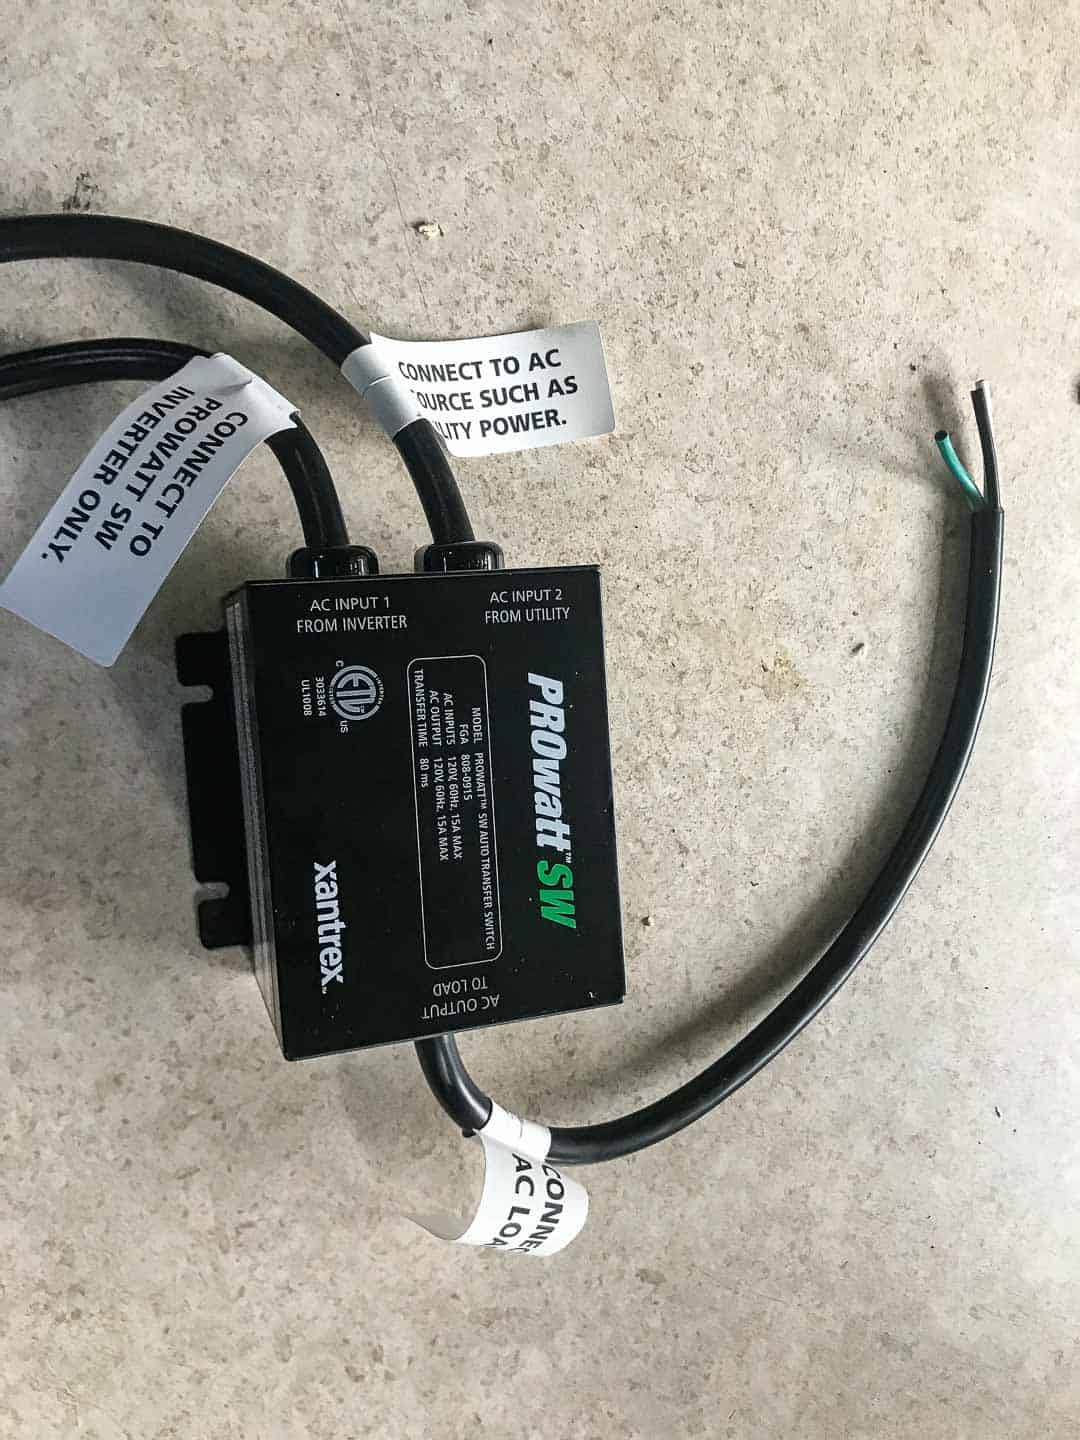
Installed an automatic transfer switch
Most campers with built-in generators have automatic transfer switches to allow you to switch between shore power and generator power.
However, we learned from a friend that we could install an automatic transfer switch inline between our inverter and our 110 v power outlets to create the situation where we could use our outlets whether we were plugged into shore power or running off our inverter.
Prior to this, we had to switch out charging devices back and forth between our inverter and outlets depending on our power source.
But by installing the transfer switch, we were able to wire the 110 v outlets to run off both shore power and the inverter, where the switch automatically knew which source was which.
For under $100 and a basic ability to work on RV electrical systems, this was easily one of our best truck camper modifications.
Switched to AGM batteries + battery monitor
When we began full-time RVing in early 2018 AGM batteries were far more expensive than they are in 2021. And as RV newbies we had no idea about what battery type or capacity we needed.
We just knew we needed deep cycle RV batteries and that having two batteries was better than having one. So we started our truck camper adventure with 2 deep cycle batteries with a capacity of approximately 80 amp-hours each.
We wired them in parallel. But because the battery storage area was only big enough for one battery we had to separate them with one on the rear of the truck bed beneath the one on the camper.
Not only was this inefficient use of power. But also it was inconvenient when we needed to service the batteries or take the camper off the truck and it turned out to be harmful to the batteries themselves.
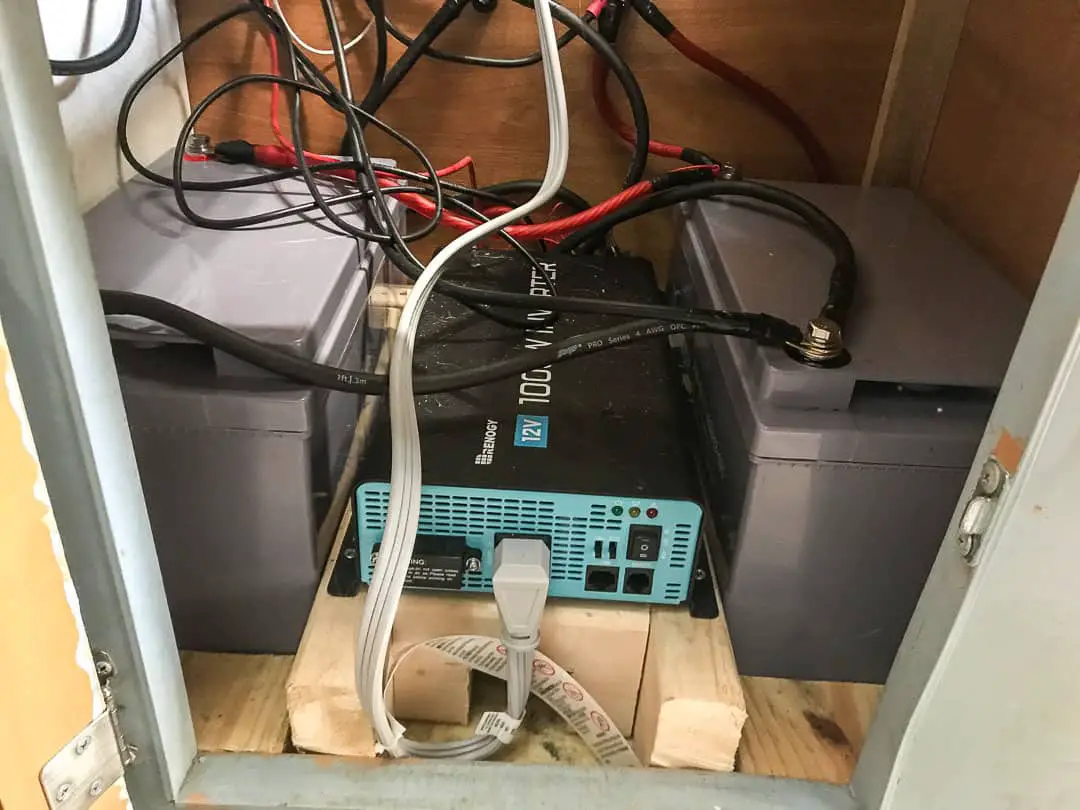
In 2020 we upgraded our batteries to AGM because these were sealed, requiring no maintenance and could handle all sorts of movement.
We increased our battery capacity to 100 amp hours in each battery and we decided to move them inside to a pantry area beneath our sofa because having them together inside the camper was more efficient.
Since we had ample storage space in our aluminum storage boxes outside we created a system of storing pantry items in other places in the camper and boxes according to the frequency we used them.
We didn’t miss the storage space, having the batteries contained side-by-side in the camper gave us tremendous peace of mind and made removing the camper simple.
We also added a battery monitor so we could keep track of our power use and the state of charge of our batteries at all times.
Upgraded our inverter
We found that a 600 W inverter is great for most people. But because we had to work on the road and constantly keep our 2 Macbooks and multiple cameras charged our inverter just couldn’t keep up with our energy needs.
This, coupled with having standard flooded lead-acid batteries, led us to constantly worry about our power use and battery health.
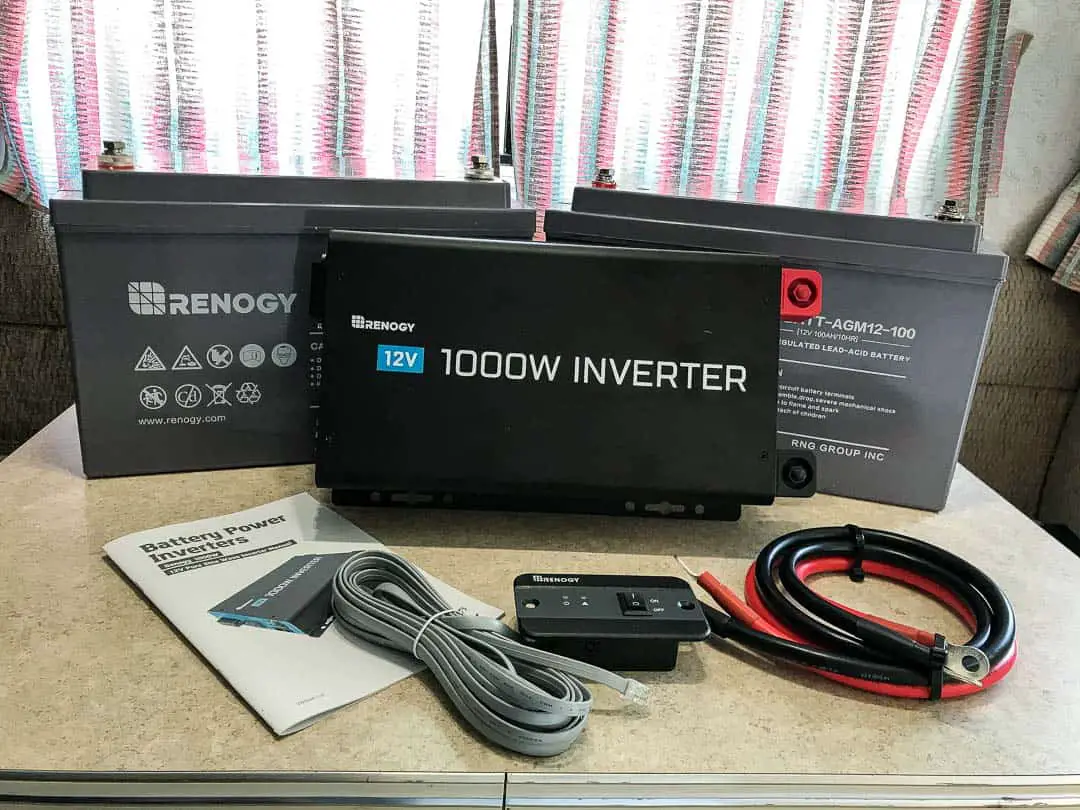
In upgrading our solar charge controller, adding an additional panel and switching to AGM batteries we also increased to a 1000 W inverter. This was great for the amount of space it took up and the battery bank size we had.
Anything more powerful would take up more space than we had and required the addition of more batteries and/or solar panels to keep up with our use.
But definitely adding our inverter in the storage space with our batteries was a great truck camper mod that made our lives so much better on the road.
Wrapping Up
Although truck campers are among the smallest RVs there are plenty of things you can do to modify them to suit your wants and needs for travel. You can customize your truck and camper separately or together as one rig.
The key is determining what works and does not work for your particular travel plans and lifestyle on the road. Then make the simple truck camper mods that make life safer, more convenient and better for you as you travel.
Hello, I also fulltime but something that caught my eye was where you installed your propane grill right below your propane tank hole !! Sorry but i had to bring it up.
Good luck,
Frank
Thanks for pointing that out. We ensured that the fittings were professionally installed in the quick connect hose and have a handheld propane sniffer we use to ensure the safety of operation. But thanks for sure for noticing! Cheers to life on the road!
I wonder about the decision for AGM batteries rather than LiFePO4?
For us it was a function of cost and quality. Lower quality LiFePO4 batteries are close in price to AGM but we wanted to avoid quality issues. As for higher quality LiFePO4, they were outside of our budget. The AGM will provide plenty of juice for their expected lifespan so they are a great value. We suspect in a few years LiFePO4 will be more common and affordable.