
Last Updated on December 9, 2021 by Chris and Lindsay
If you are wondering how to start a travel blog you are most certainly not alone. In fact, this topic is probably one of the most competitive posts in all of the internet. If you’re reading this, there is a good chance you found us because we had to use every trick we know to try and make it visible.
That said, just because blogging is highly competitive doesn’t mean you should not learn how to start a travel blog. Everyone has something to say. And we all have different reasons for wanting to say it.
In this post, we’re going to show you how we started our travel blog and discuss ways that you can potentially monetize your website.
While we are not making a fortune from our website, we do earn decent revenue that offsets much of our full-time travel expenses. And the best part is that it is continuing to grow with each month!
Whether you want to start a travel blog, food blog or blog about another niche topic you know well and love, this post will make the process super-simple and cost-effective.
| In short, you have to do the following: |
|---|
| * Select and purchase a domain ($12+/yr) * Select a purchase hosting ($36+/yr) * Connect your domain to the host (Free) * Setup WordPress for your domain and hosting (Free) * Begin writing (FUN!) |
Why Start a Travel Blog
Starting a travel blog can be as much or as little work as you make it depending on why you want to start it. Whether you want to monetize your blog or simply keep track of an epic road trip, here are some reasons why you might want to consider starting a blog.
1) Make money on the road blogging.
There are plenty of great ways that you can make money blogging. Whether you want to monetize your website with ads, sell affiliate products and services, market your own products/services or simply build a website you can sell outright, it all begins with starting a blog.
This is one of the primary ways we make money traveling.
READ MORE: Learn how to make money on the road with this post!
2) You have something to say about a topic that is important to you.
You might know about the best things to do in a certain region of the world, have a passion for certain kinds of cooking recipes, or have expertise in a topic that could help people.
Starting a blog gives you a platform from which to reach people with your message.
A common way most travel blogs begin is to simply want to document your story/journey in a way that you can share with others. Whether you want to just share with friends and family or try to reach a larger audience, starting a blog gives you the outlet to be able to share the excitement of your journey.
Affiliate Disclaimer: Some of the links you will come across are affiliate links, meaning we receive a small commission if you choose to purchase products/services from our recommendations. We only recommend those items we know, use and trust and know that you will benefit from purchasing them as well!
How To Start A Travel Blog in 7 Easy Steps
Starting a travel blog is pretty simple, straightforward and inexpensive. If you have an hour, a credit card and a willingness to follow some basic instructions then you’ll have your website up and running relatively effortlessly.
Here are the 7 steps that you need to do to start a blog:
Step 1: Define your brand and domain name (FREE)
This is the first and arguably most important step in starting a website because it will determine everything about your website name, social media and other aspects of what you plan to share on your website.
The “domain” is your website name and it is going to stick with you as long as you continue your blog. So you want to make sure you get the right name.
TIPS FOR PICKING A DOMAIN NAME:
1) Try to be as specific as possible to your topic or niche. For example, if you know you want to focus only on travel to Germany you’ll want to try and incorporate relevant terms into your website name.
2) But also don’t peg yourself in with a name. For example, you may start out as a “budget” traveler but eventually, you want to have enough success that you become a “luxury” traveler. So having “budget” or “cheap” in your domain will peg you in when you grow over time.
3) Try to find the perfect domain with a .com extension. These are by far the most common and relevant to nearly all blogs.
4) Don’t use numbers in your domain. For example, it’s better to use the word “for” instead of the number “4” in your domain name.
5) Avoid hyphens or dashes if at all possible, as well as long domain names. The idea is to make your domain name as simple and memorable as possible so people can find it quickly and easily.
6) Think far enough ahead about the growth of your blog. For example, you’re not going to want to brand it 2020 because what happens when 2021 rolls around?
7) Be careful of cliches in your domain name. For example, the words “nomad” and “nomadic” have become very common among travel blogs. We’d advise you don’t simply look for “NomadicName” for your domain.
8) Check and see what social media handles are available as it relates to your domain name. Use this great website to check all social media extensions related to your domain name.
Other things to consider related to your branding are not as important as your name itself. For instance, you’re going to want to develop a logo and a palette (set of colors) to represent your brand.
But those can change over time. Once you select your domain name it becomes the foundation of everything you do.
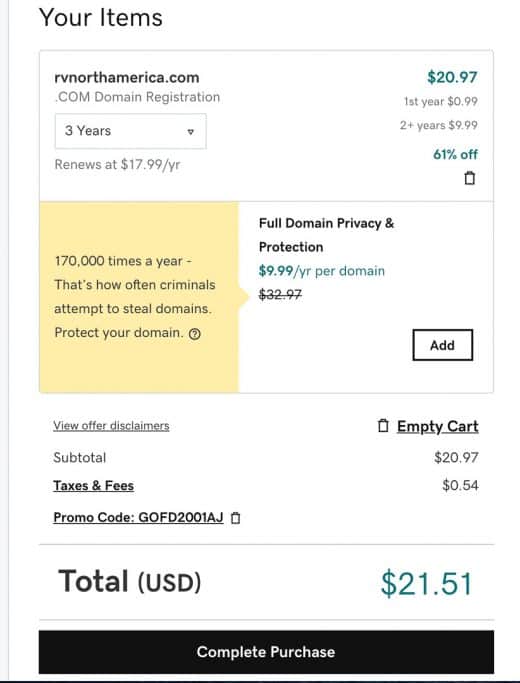
Step 2: Purchase your domain ($12+/yr)
This is a simple and straightforward step. You can buy your domain name from any number of websites. Costs are typically around the same. But sometimes you can get perks if you buy other products and services from the company.
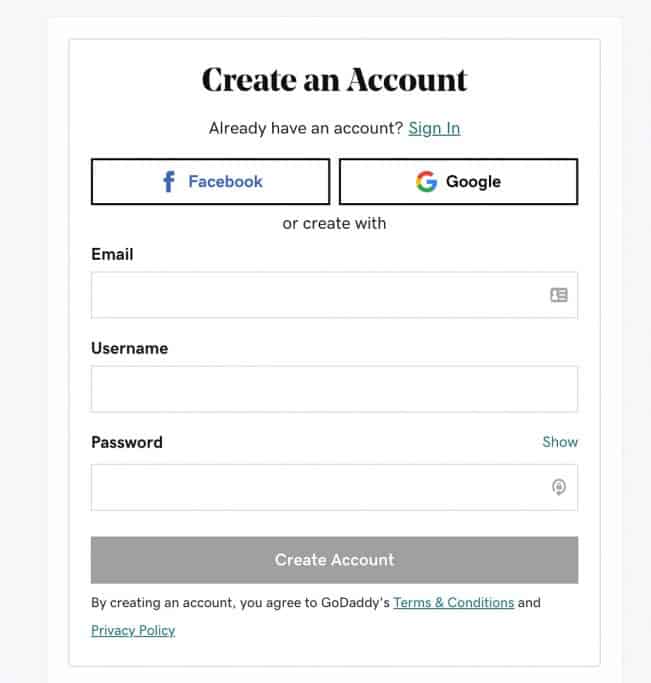
We have used GoDaddy for all of our websites over the past ten years and have nothing but great things to say about the experience. Use this link to purchase your name through GoDaddy.
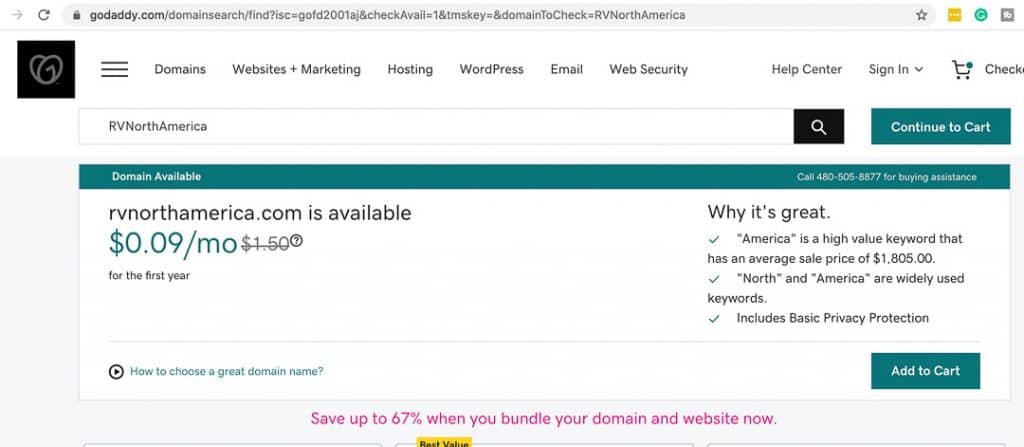
You’ll need to take a few seconds to create an account and then simply enter your desired domain name in the search bar.
If it’s available you’ll be able to add to your cart and purchase immediately. If it is not available then GoDaddy will give you a list of other extensions (such as .biz or .info) as well as other related and available names.
If you don’t go with GoDaddy, NameCheap is another popular place to buy a domain name.
But for the sake of our recommendations in this post, we’re going to be using GoDaddy to lead you through the next steps. Go ahead and add your domain name to your cart.
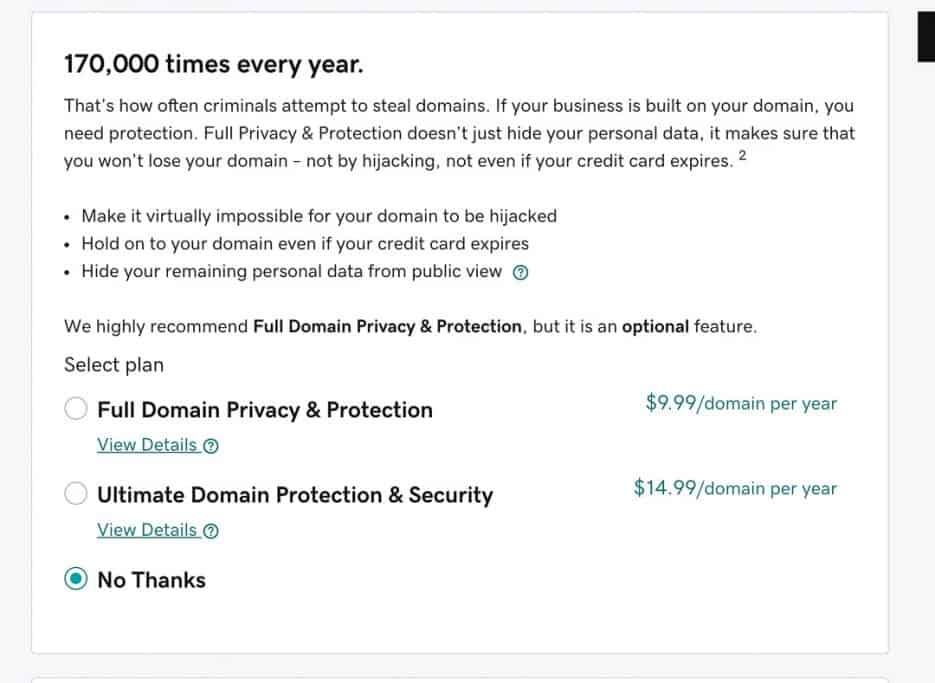
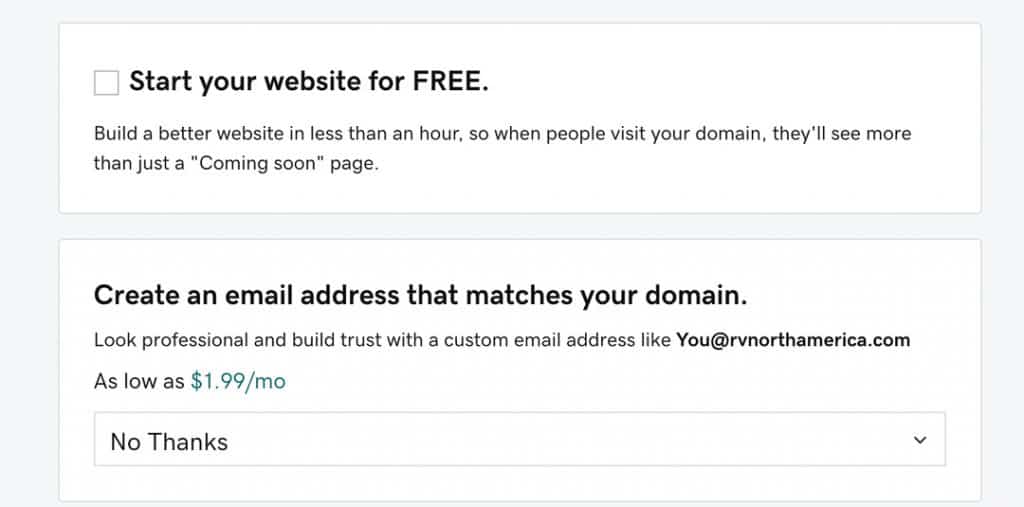
GoDaddy is going to try and sell you a bunch of things you don’t need. So you can decline accepting most things. You Just want your domain name. We’ll get you covered with hosting, email, SSL Certificates and other items later.
All you need to do is complete your purchase and we can move on to Step 3!
Step 3: Purchase hosting ($48+/yr)
Hosting is an important next step in starting a travel blog. When you host your website you are sending all of your files (images, text, videos, etc) to one location to store them.
From this location, the website host will deliver your content to users all over the world.
This is an expense you are going to want to pay as it adds a layer of legitimacy and function to your blog.
Some of the older domain sellers offer free hosting through their sites (think Wix and Squarespace). But this will be incredibly limited in what the hosting offers and will often mean that your website is not simply your domain but might also include their company domain as well.
You may have seen some like this generic example: MyNewWebsite.WordPress.org.
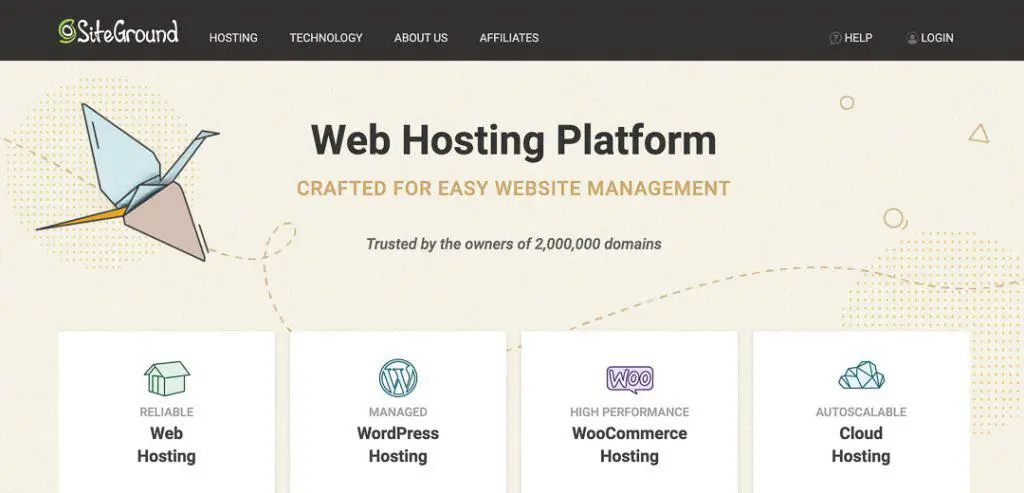
You have more options for selecting a host than you have for selecting a domain. Based on our years of experience in building websites, we recommend SiteGround.
We’ve grown with SiteGround over the years and have had no issues at all with either the service or the customer service response.
Another popular hosting service in BlueHost. You can get started with BlueHost for $3.95 per month using this link.
Siteground and BlueHost are the two most popular hosting companies for bloggers just getting started. They both provide all the tools and services you need to be able to launch your website and make doing so pretty easily.
But for the purposes of the remaining steps in this post we’ll be using SiteGround.
Note: BlueHost has similar steps as the following so it will be intuitive if you choose to host with them.
TIPS FOR SELECTING HOSTING
1. Decide whether you want to go with our recommended SiteGround, Blue Host or another. Once you choose your hosting you will not want to change hosts in the short term.
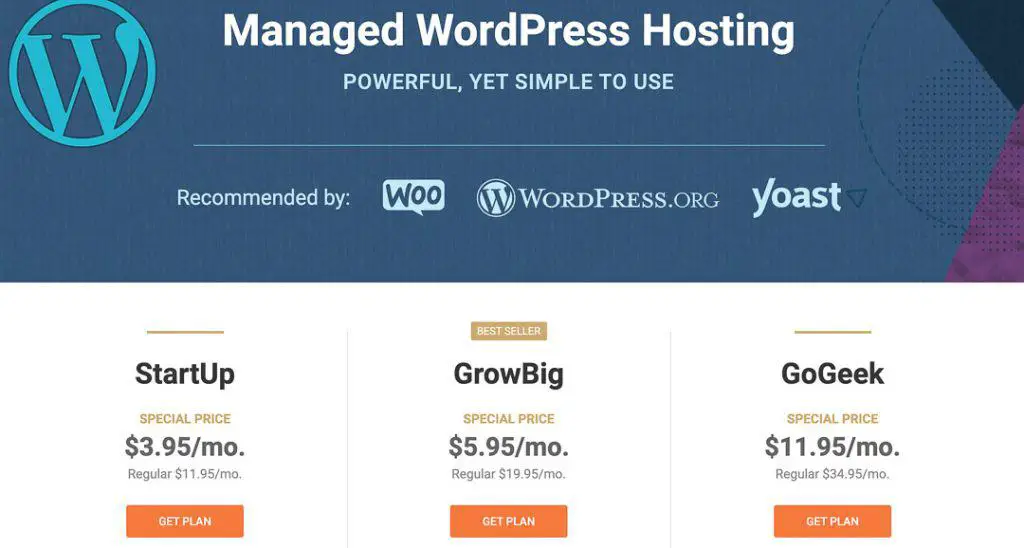
2. SiteGround and other hosting services almost always offer great introductory rates for hosting. However, upon the expiration of the initial term the rates increase quite substantially. We have always selected a 3-year option because we know we will stick with SiteGround for at least 3 years.
3. Select the most basic plan (“Startup” with SiteGround) to get you started. You won’t need any other bells and whistles out of the gate.
4. Know that you can upgrade/downgrade hosting plans as your site changes. For example, the “Startup” plan covers you until 10K monthly sessions and then at 25K monthly sessions you have to upgrade to the “Grow Big” plan.
(Don’t worry, this is a great problem to have because at this point you’re probably monetizing your website and will cover all of the added expense of the upgrade).
SiteGround will actually credit your outstanding balance toward the upgrade as well.
Setting up Hosting with SiteGround
The first thing you’re going to need to do is to select the most basic plan, Startup. This will provide you all the space you need on the server to start your travel blog and you can have up to 10,000 monthly visitors at this level.
Tell SiteGround you already own your domain name. If you didn’t go with GoDaddy or NameCheap you could also buy from SiteGround.
But we like to keep our domain name ownership separate from hosting in the event we ever change our hosting.
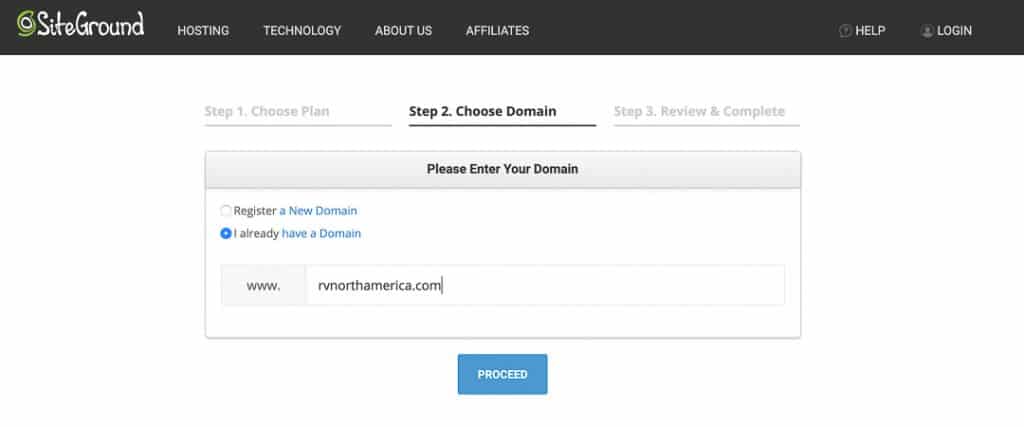
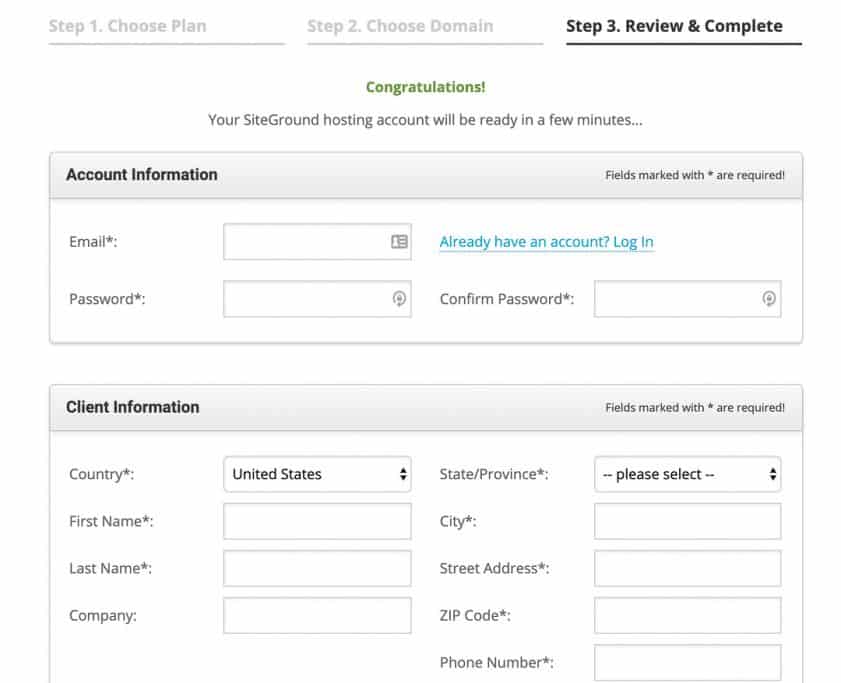
You’ll need to setup an account and follow through with the steps to purchase the hosting plan. As we mentioned, prices are much better if you go with a longer period.
And because growing a travel blog can take time we’d recommend you go with at least the 2 year option (unless your finances are really tight).
Step 4: Connect your Domain Name to your Hosting
Once you have purchased your domain and hosting you simply have to connect the two. SiteGround makes this incredibly straightforward.
To manage the connection between your domain and hosting, as well as all of the various details you may change later, you will use the “cPanel.”
Then you need to go to the “Addon Domains” button in the top section of cPanel (“Domains”) and enter the information about your domain name.
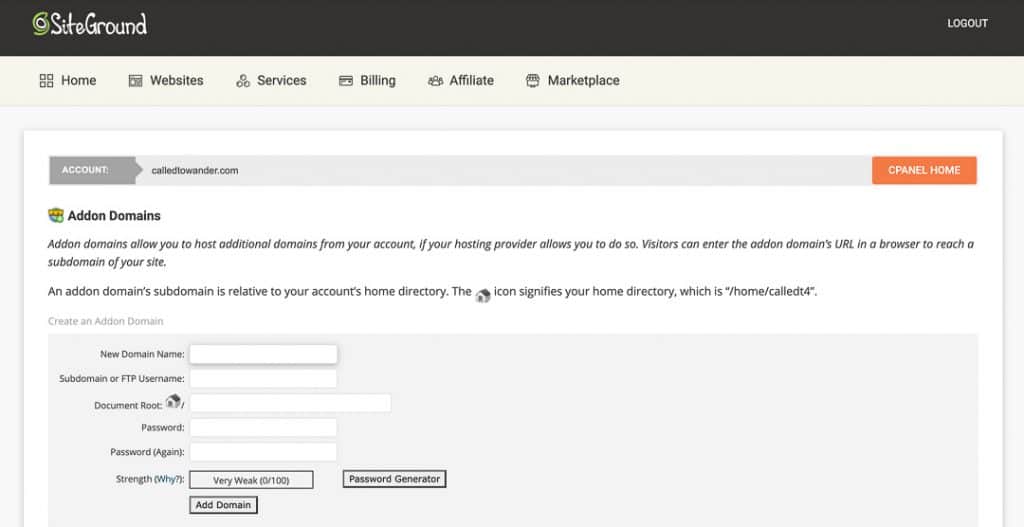
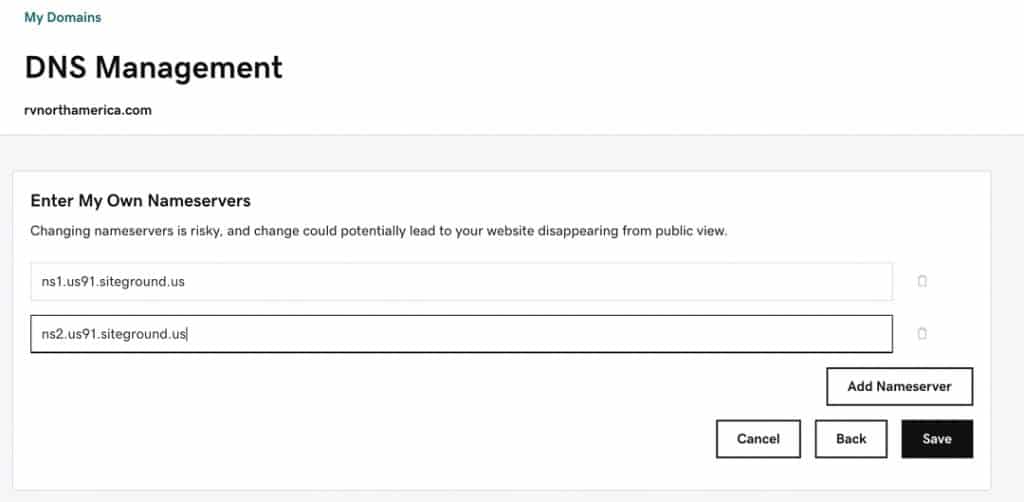
Within cPanel you are going to need to use Account Information to find the NameServers for SiteGround.
| ns1.us91.siteground.us ns2.us91.siteground.us |
Now return to your GoDaddy account and select “Manage DNS.” You will need to enter the SiteGround NameServers and update the account.
Now your domain name is connected to your host so you can visit your website by typing it into the browser.
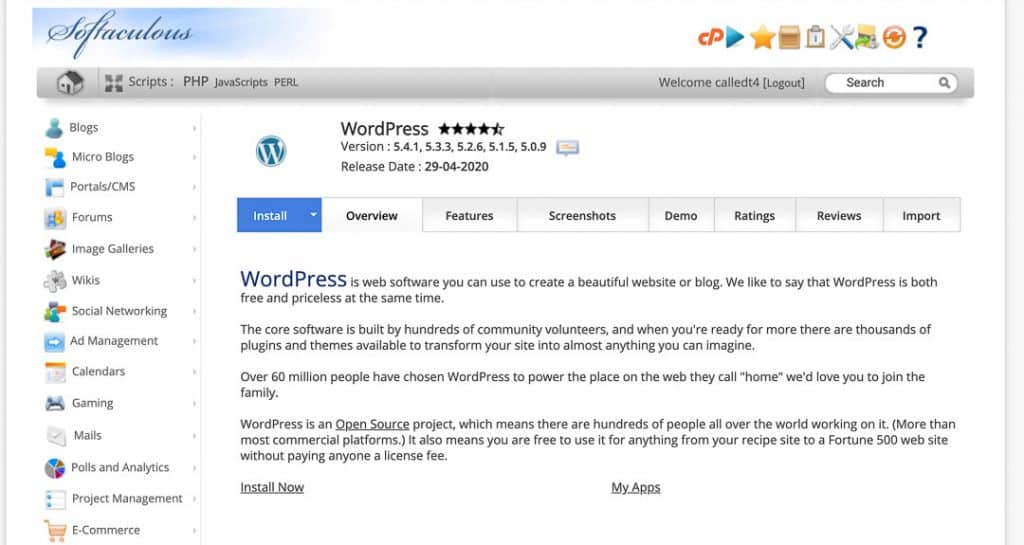
Step 5: Setup WordPress (FREE)
WordPress.com powers over 33% of ALL websites on the internet! For this reason (and because we like the interface) we recommend that you use WordPress to design your website.
SiteGround makes this easy once again via the cPanel. Under the “WordPress Tools” section select “WordPress Installer” and follow the next steps.

Then follow the instructions to connect your travel blog domain to WordPress.
Once WordPress is installed this completes the integration between your website (where you will add information, images and files) and your host (where the files will be stored). Essentially you are ready to begin adding content to your website.
The last few steps are simply customizing your website and adding a few “plugins” that will operate in various faculties to keep your website fast, safe and allow you to focus on the fun part of blogging – adding content!
Step 6: Pick a Theme (Free +)
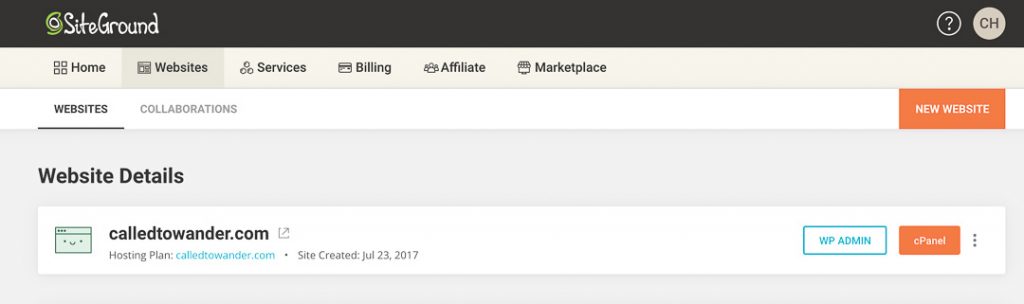
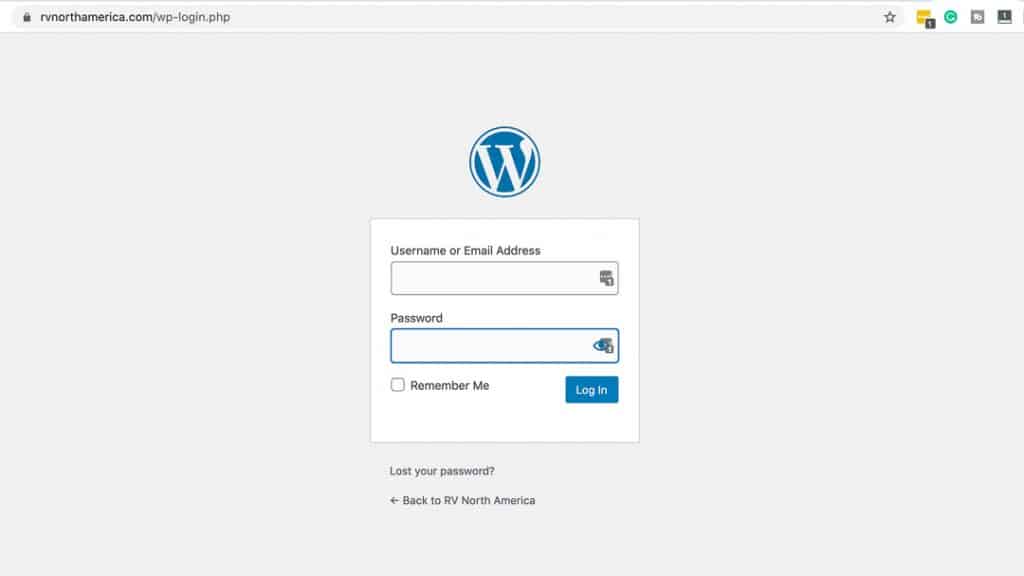
Now that you have installed WordPress via SiteGround you can enter the Admin panel of WordPress either by selecting “WP ADMIN” in your SiteGround account or by typing in your domain name with “/WP-admin” into your browser.
Ex: YourWebsite.com/WP-admin
Once you’re logged in to WordPress as Admin you can now set up and customize everything about your website appearance and function. This is where you will spend 99.9% of your time starting your travel blog.
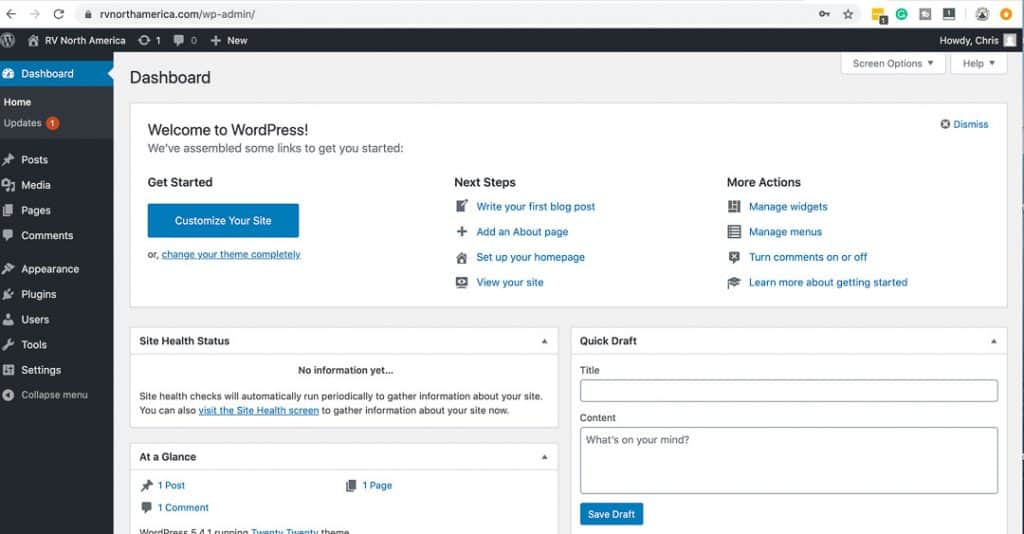
The first thing you will want to do is select a Theme. This is the general layout, look and feel of the website. Select “Appearance” and then select “Theme.”
Here you have a LOT of different themes from which to choose. We recommend that you cruise around and look through a handful of options. But don’t get lost in the rabbit hole of themes.
The ones offered through WordPress are FREE. But there are also options to purchase premium themes.
In fact, we run GeneratePress themes on our websites for around $50/year. But you certainly don’t need to go this route.
Pick a free theme and follow the steps to customizing your travel blog!
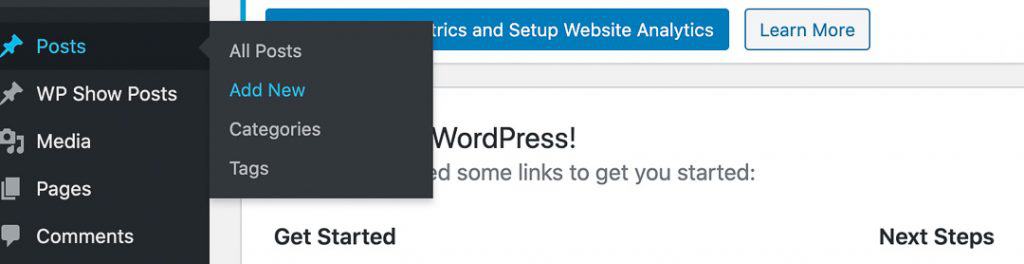
Step 7: Write your first post
You made it through the hardest part of starting a blog! Now you can actually begin to write the content that you want to share with the world!
There are 2 basic formats for content (and lots of information on the web about the difference between them and why use one over another): Posts and Pages.
Essentially a Page is a static page that will have a URL link defined by your website.
Example: YourWebsite.com/Page
These cannot be categorized or grouped and you will have far fewer Pages than Posts.
Posts are your typical blog page. They can be categorized or tagged to be sorted and searched in your website.
You can add the same type of content to a Post as to a Page. So the biggest thing to think about is whether/how you want to organize information.
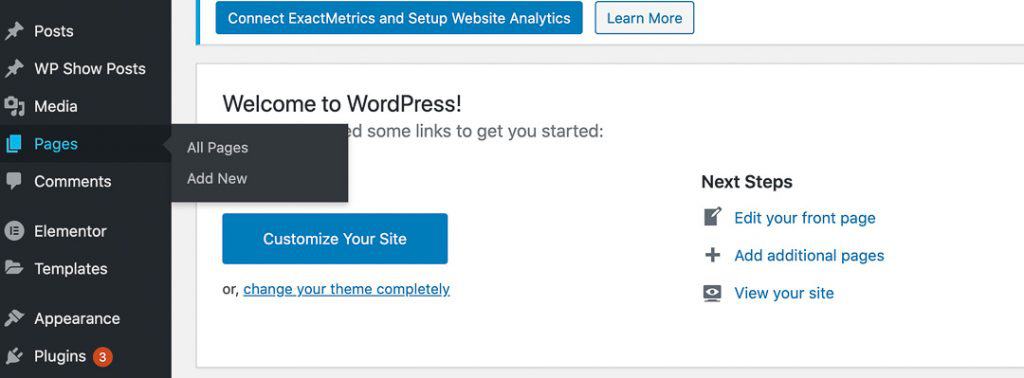
Here are the first Pages that you are going to want to create:
- About Page
- Contact Page
- Privacy Policy
Posts can be about anything and everything you want to write about and you can find lots of information on the web about how to organize your posts through categories and menus.
The important thing is that you get started! If you’re trying to monetize your blog, Google factors age of content into its algorithm for establishing your authority (and thus search engine results page position) so don’t wait too long to get started in writing posts!
Other things to do/consider:
When you complete those 7 steps for how to start a blog you are well on your way. In fact, if your goal is not to monetize your website then you have all of the resources you need to get started.
But we do recommend the following additional items to help secure your website and help you create a well-rounded brand that will enable you to reach the most people with the things you want to say.
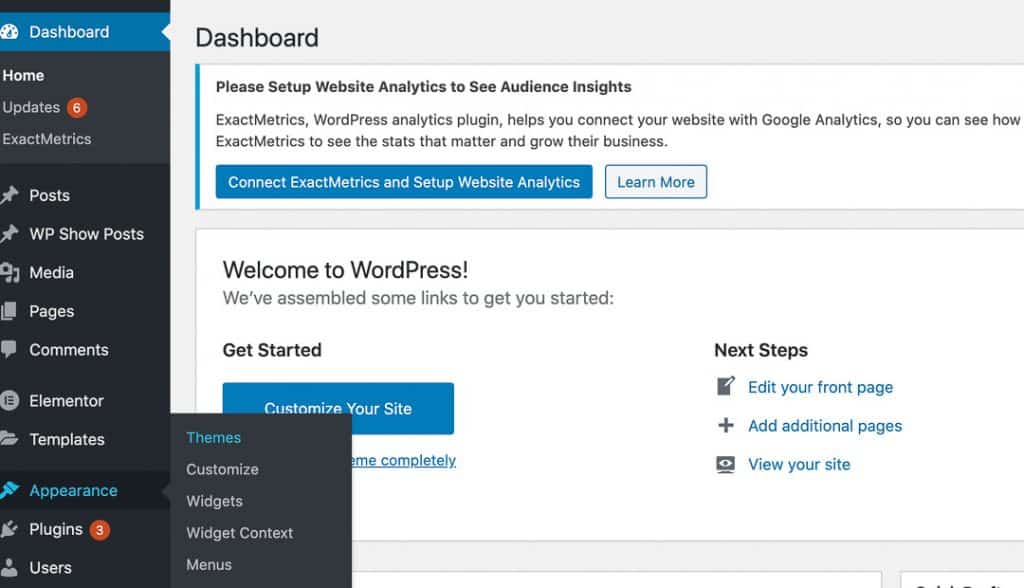
Install additional plugins
WordPress uses “plugins” to allow developers to create tools that make it easy for you to customize your website. From plugins that allow you to post your Instagram feed to those that show your most recent or relevant posts, you can get as creative as you want with plugins.
Do know that the more plugins you use the slower your website becomes. So you’re going to want to choose only those you need or want for the most bang for your buck.
Nearly all plugins you’ll want are free. And several offer premium upgrades or features.
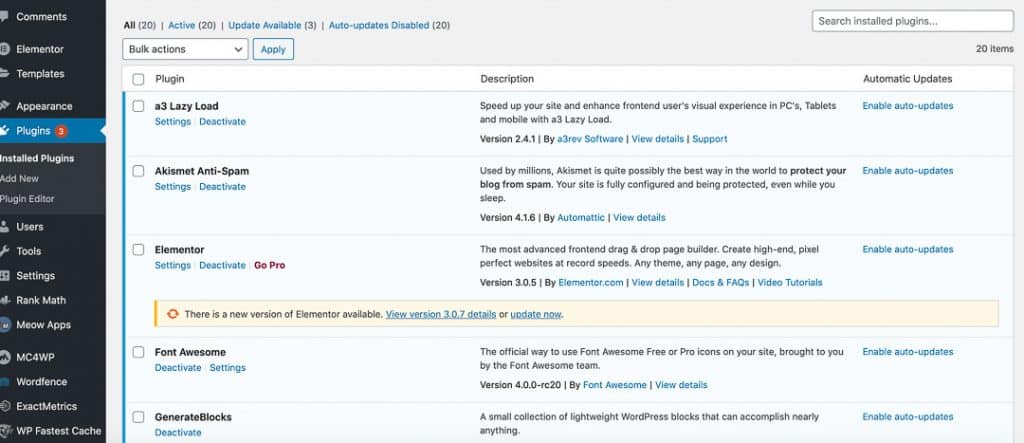
We recommend the following, free WordPress plugins once you start a blog:
Should/Must Have WordPress Plugins:
- A3 Lazy Load – Loads your website as user scrolls down
- Akismet Anti-Spam – Reduces spam attacks on your site
- Google Analytics (GADWP) – Integrates Google Analytics to your site
- Fixed TOC – Optional table of contents feature for your posts
- RankMath SEO – Helps you write SEO-optimized posts
- Updraft Plus – Backup and Restore your website
- WP Fastest Cache – Helps speed up your website for users
- WP Retina 2x – Makes display optimal for users
- WordFence Security – Firewall and Malware Scan to protect your site from hackers
Optional Theme + Advanced Plugins
- Elementor (Free & Premium) – Customize the design of your posts and pages
- Font Awesome – Create/use customized fonts
- * GP Premium – Premium theme for your website design
- * Generate Blocks – Special design features for your posts and pages
- * Lightweight Social Icons – Allows you to put social media icons on your posts and pages
- PinIt Button on Image – Places Pinterest icon to allow readers to pin the post
- Recent Post Widget w/ Thumbnail – Show your recent posts on whatever pages you want
- Simple CSS – Allows you to make custom modifications to features of your site
- * WP Show Posts – Customize related posts you want to show on various posts and pages
* GeneratePress premium theme automatically integrates these plugins if you purchase their theme.
Setup Google Analytics
This is a relatively easy thing to do. If you don’t intend to monetize your website then you probably won’t care much for the analytics of how many people are visiting your site or which posts are reaching the most people.
But if you do plan to monetize your website then it’s an absolute must that you setup Google Analytics.
Here’s a great post on how to do that.
SSL Certificate
Most hosting companies (but definitely both SiteGround and BlueHost) offer free SSL Certificates for your website. What this means is that your website creates a secure connection between your server (where you store all of your website files) and the website browser (where a user views your website).
This is becoming far more standard practice and you will definitely want to inquire with your hosting company on setting up your SSL Certificate.
If you look in your browser now you should see a “lock” icon to the left of the domain in the address bar. When the lock is locked it means you are on a site with a SSL Certificate.
If the lock is unlocked, then there is no SSL certificate for the website. Personally, because SSL Certificates are free in most cases and are becoming the industry norm, we don’t visit websites that are not secured.
For more information on what SSL Certificates are check out this post.

Setting up an email account through your hosting is not mandatory, especially if you have no plans to monetize your website our build an online brand. But it is simple and typically free and it definitely adds a layer of credibility when you interact with people via email.
Most people have gmail accounts these days and many semi-professional bloggers still use their gmail accounts.
But both Siteground and Bluehost offer free email addresses so you should do that before you plan any professional outreach.
You can typically have a few email addresses and, depending on the site of your hosting plan, you may be able to set the size limits of the mailboxes so you can have multiple.
For example, we have (and recommend) our general email which is hello[at]calledtowander.com. But we also have our own personal email addresses through our domain as well.
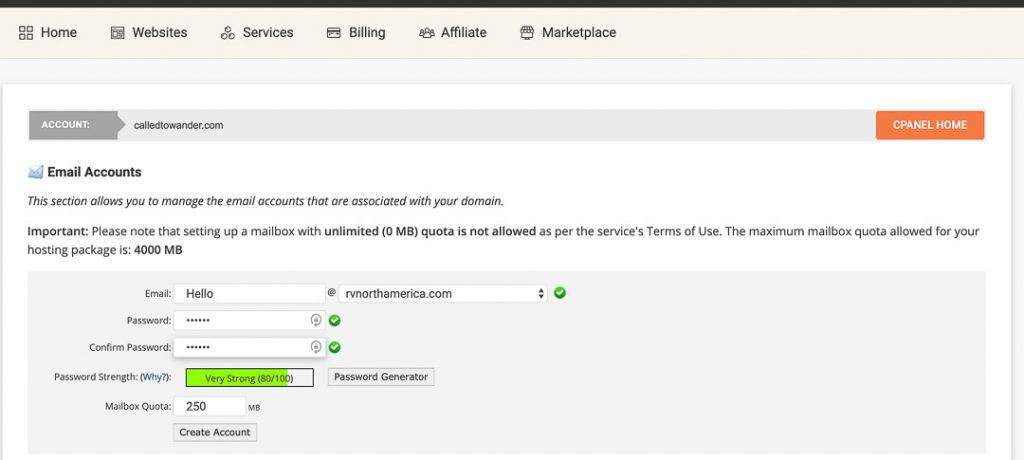
Once you’ve set up your email account through your host you can configure it to your computer and mobile device. SiteGround makes this simple and has some great step-by-step guidance to assist you.
Setup Social Media
Clearly you do not need to have social media if you are trying to learn how to start a blog. However, with Step 1 in this guide we suggested you consider available social media handles related to your proposed domain so that you could build your online brand.
While there are an ever-increasing number of social media platforms so you’ll have to decide the ones that you like and enjoy using.
Again, if you aren’t looking to monetize your online brand then you can make social media casual.
But if you want to grow an audience through your website and build your online brand then at minimum consider the following social media accounts:
- Pinterest – Great for promoting website posts
- Facebook – Perfect for building a social audience
- Instagram – Ideal if you are photo-centric in your website
- Twitter – Works well if you like to have frequent, daily interaction with your audience
- YouTube – Obviously the best way to reach an audience if you create videos
BONUS: 7 Tips for Starting A Travel Blog
While we go into more detail in our post on monetizing your blog, we want to give a few quick tips about setting up your blog for success.
Tip 1: DO connect with the blogging community.
Join groups and forums to learn more about blogging as a beginner, as well as in your niche. If you do a search on Facebook you’ll find a handful of groups about beginner blogging and those related to your niche.
For example, type in “travel bloggers” and you’ll find a bunch of results. And when you feel confident, reach out to those bloggers you look up to in your niche as you may be able to contribute to their website (and help yours in the process!).
Tip 2: DON’T pay for a blogging course.
We were fortunate to learn most of what we know from our successful friends at NOMADasaurus as well as countless hours of research and, of course, trial and error.
Most of what you need to know you can find in searching the web. Plus you don’t need to know everything all at once. Once you get started and you follow along with groups and forums you’ll find yourself asking your own questions and seeking your own answers as you grow your website.
Google is your friend. As is YouTube (which is technically Google too!).
Tip 3: DO organize your blog.
Think about the structure of your blog before you get too far along in creating content. Think about the topics you want to write about and see if you can group them into categories of related content.
Not only does this help you and your readers stay organized, but also Google will reward you for having similar content linked together.
Tip 4: DON’T overthink your blog.
This was a big problem we had when we started because we overthink pretty much everything! Yes, you need to have a general idea about structure.
And you should probably think about how you plan to reach people with your posts. But don’t let these thoughts slow you down from writing. You can pretty much fix anything that you didn’t know how to do at a later date.
Tip 5: DO think about monetizing your blog.
There are a variety of ways to monetize your travel blog. But they all start with writing great content. So focus on that first.
But if you think you’d like to make money from your blog then you’re going to want to accelerate the learning curve for growing your blog.
No, you still don’t have to pay for a blogging course!
But be prepared to be more engaged in the process of learning how other people monetize their blogs. Like anything, the more questions you ask and answers you find the more you will learn.
We primarily earn revenue from our blog from running Ezoic advertisements and through affiliate sales.
READ MORE: Make money with your blog using advertisements with Ezoic!
Tip 6: DON’T expect fast results.
Blogging is a slow process when it comes to building an audience. It took us nearly a year before we had any posts ranking (we didn’t follow the tips above too well!).
But once we got that taste of success in our mouth we really started to dig in and learn more. We focused more on writing posts that would generate traffic and were Search Engine Optimized (SEO).
But even when we wrote what we thought was the perfect post on a topic it would take months to see the light of day. And we found we were continually surprised that posts we didn’t expect to have success often jumped to the top of the list!
Tip 7: DO have fun when you start your blog!
Whether you want to monetize your blog or just want to share your thoughts, experiences or otherwise, starting a blog can be fulfilling in so many ways.
For those of us who love to write and always look for creative outlets, starting a travel blog gives you a whole new dimension in which to express yourself.
And if you love teaching or sharing information with others, you’ll be surprised at how far your posts can reach and the lives you can impact with your blog!
Wrapping Up
Learning how to start a travel blog is a journey. The first steps are relatively quick and easy and can cost less than $60.
But the journey from these first 7 steps will take you as far into the blogging world as you want to go.
Personally we have had various blogs for nearly 15 years. Most of these we didn’t take very seriously and didn’t have much success.
But with our current website, we absolutely LOVE the idea that people are searching for information that we can provide to inspire and inform them on how to pursue the Abundant Life.
Whether you want to fund your travel dreams, build a site hustle revenue stream or just share with the world the things that you love and are passionate about, starting a travel blog is a great way to express yourself.
Hopefully this post will get you started on your journey to starting a travel blog.
Please feel free to reach out with any questions you have and we’ll do our best to help you continue down that journey toward success!